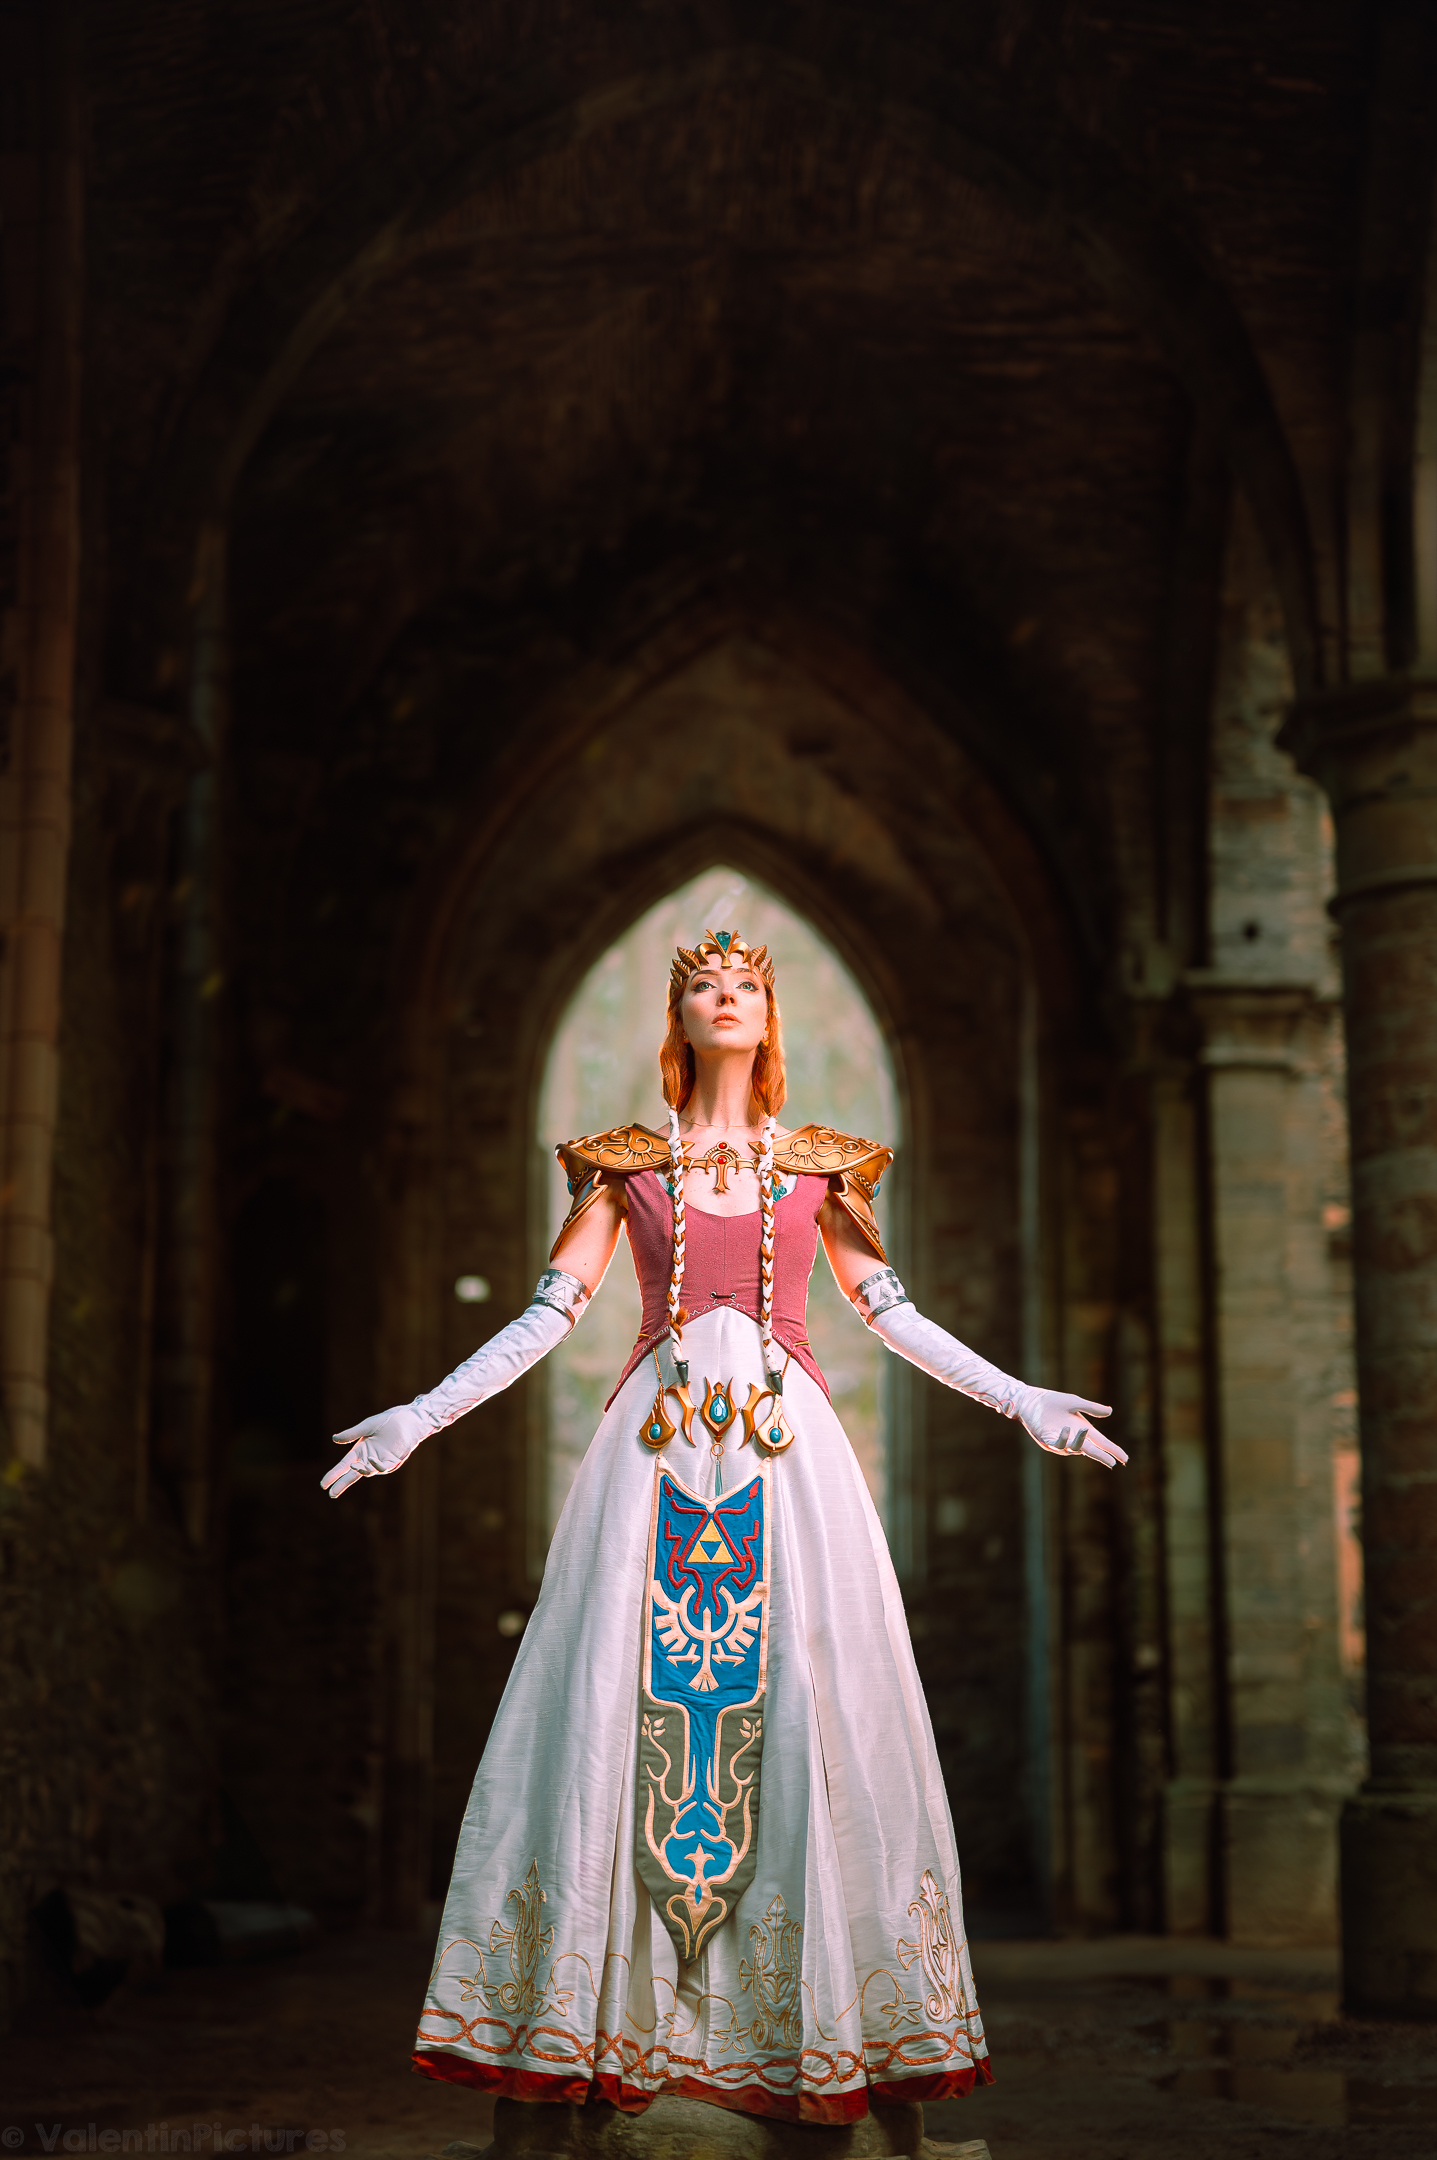
resources for zelda's dress (twilight princess)
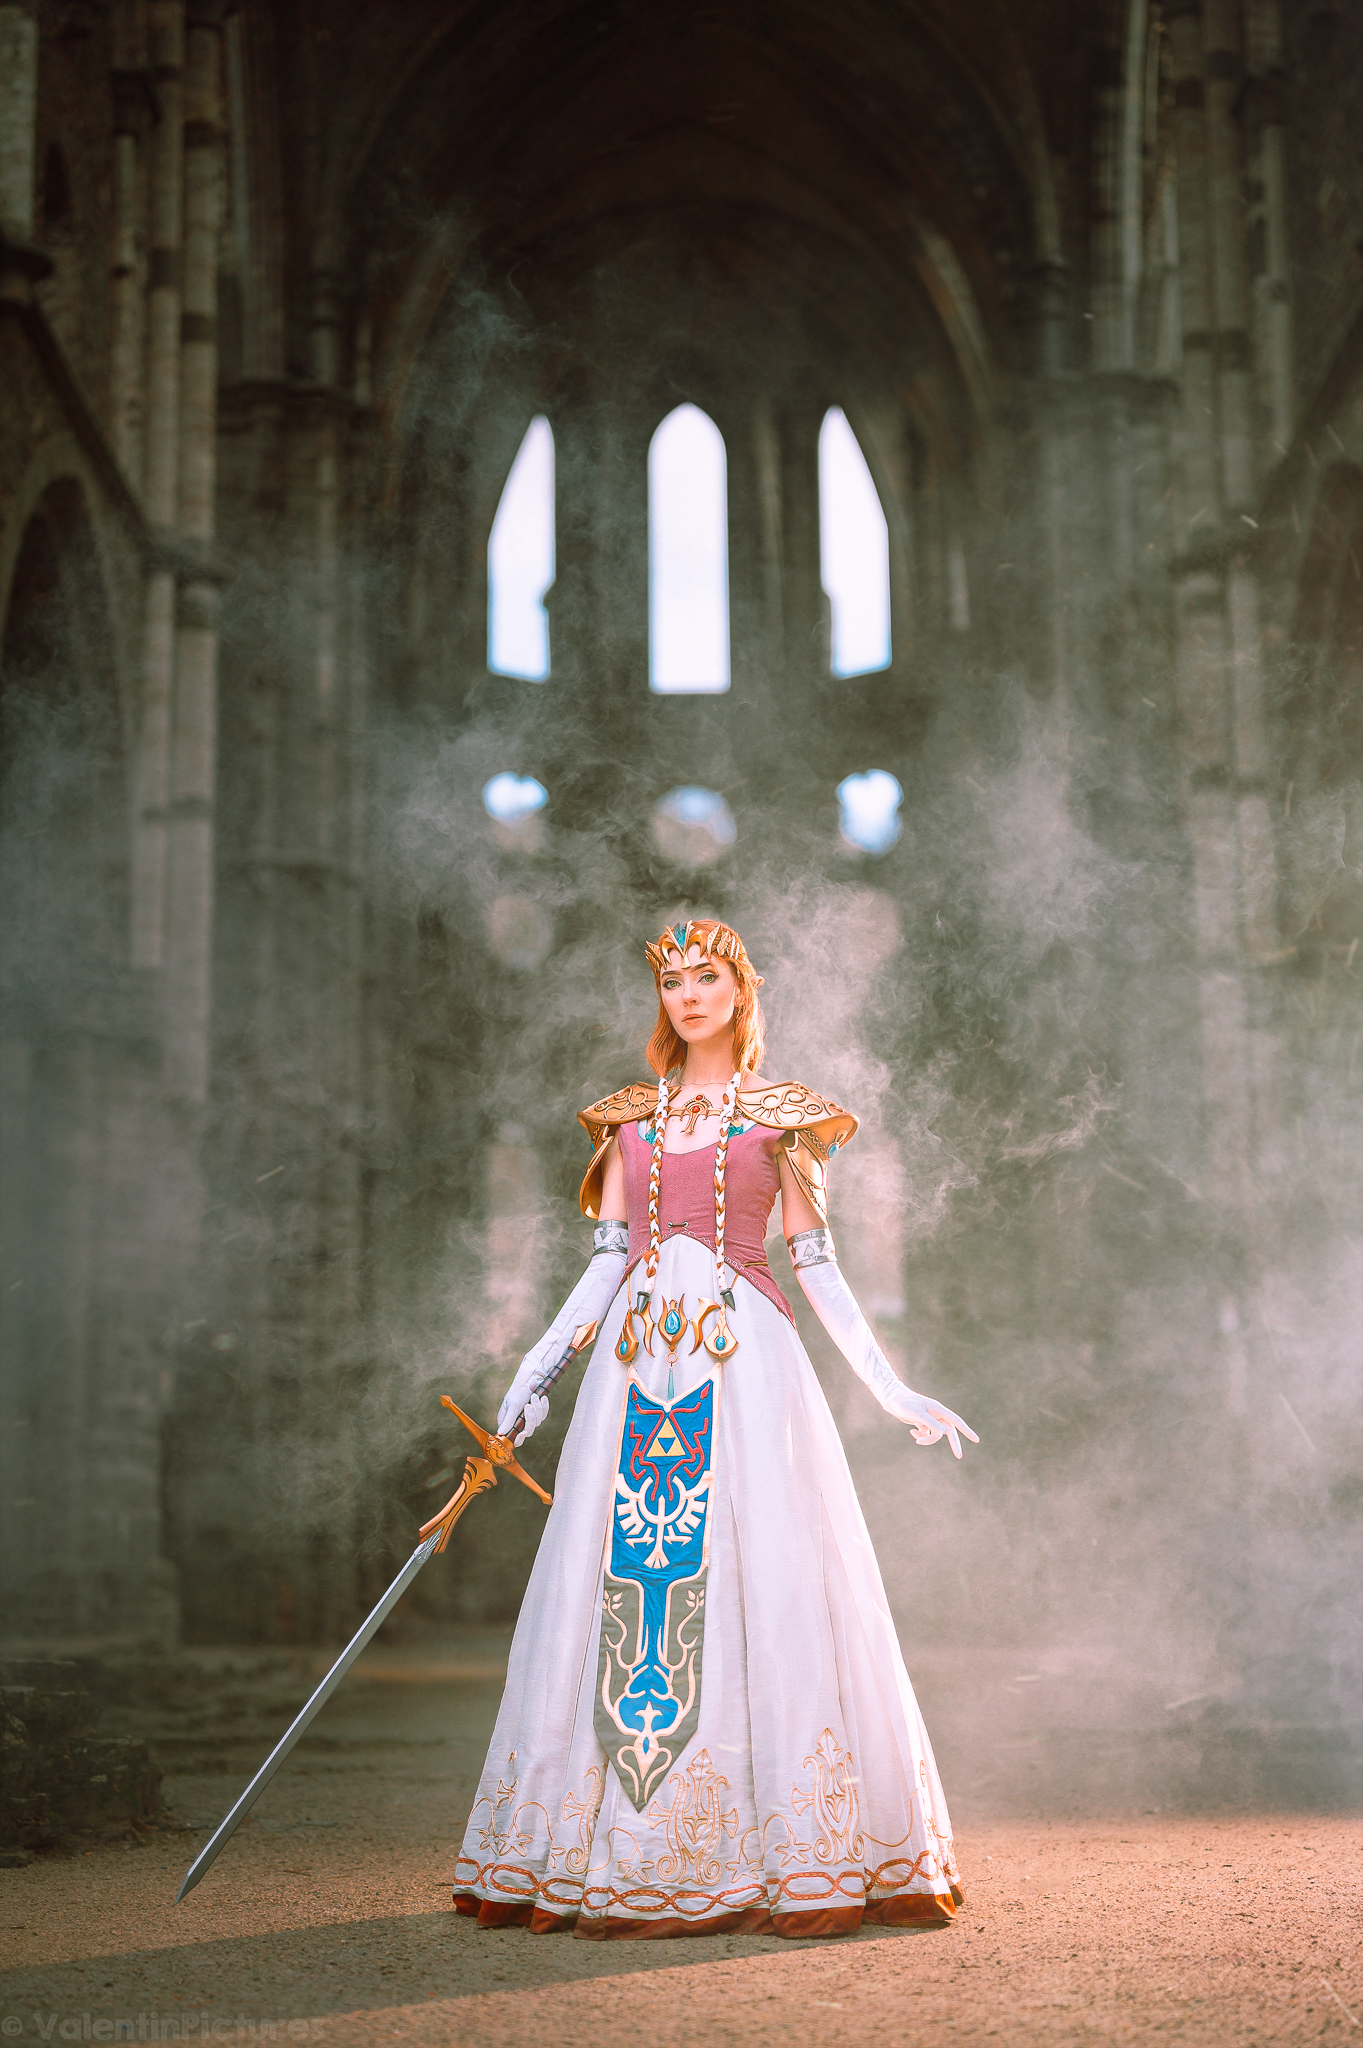
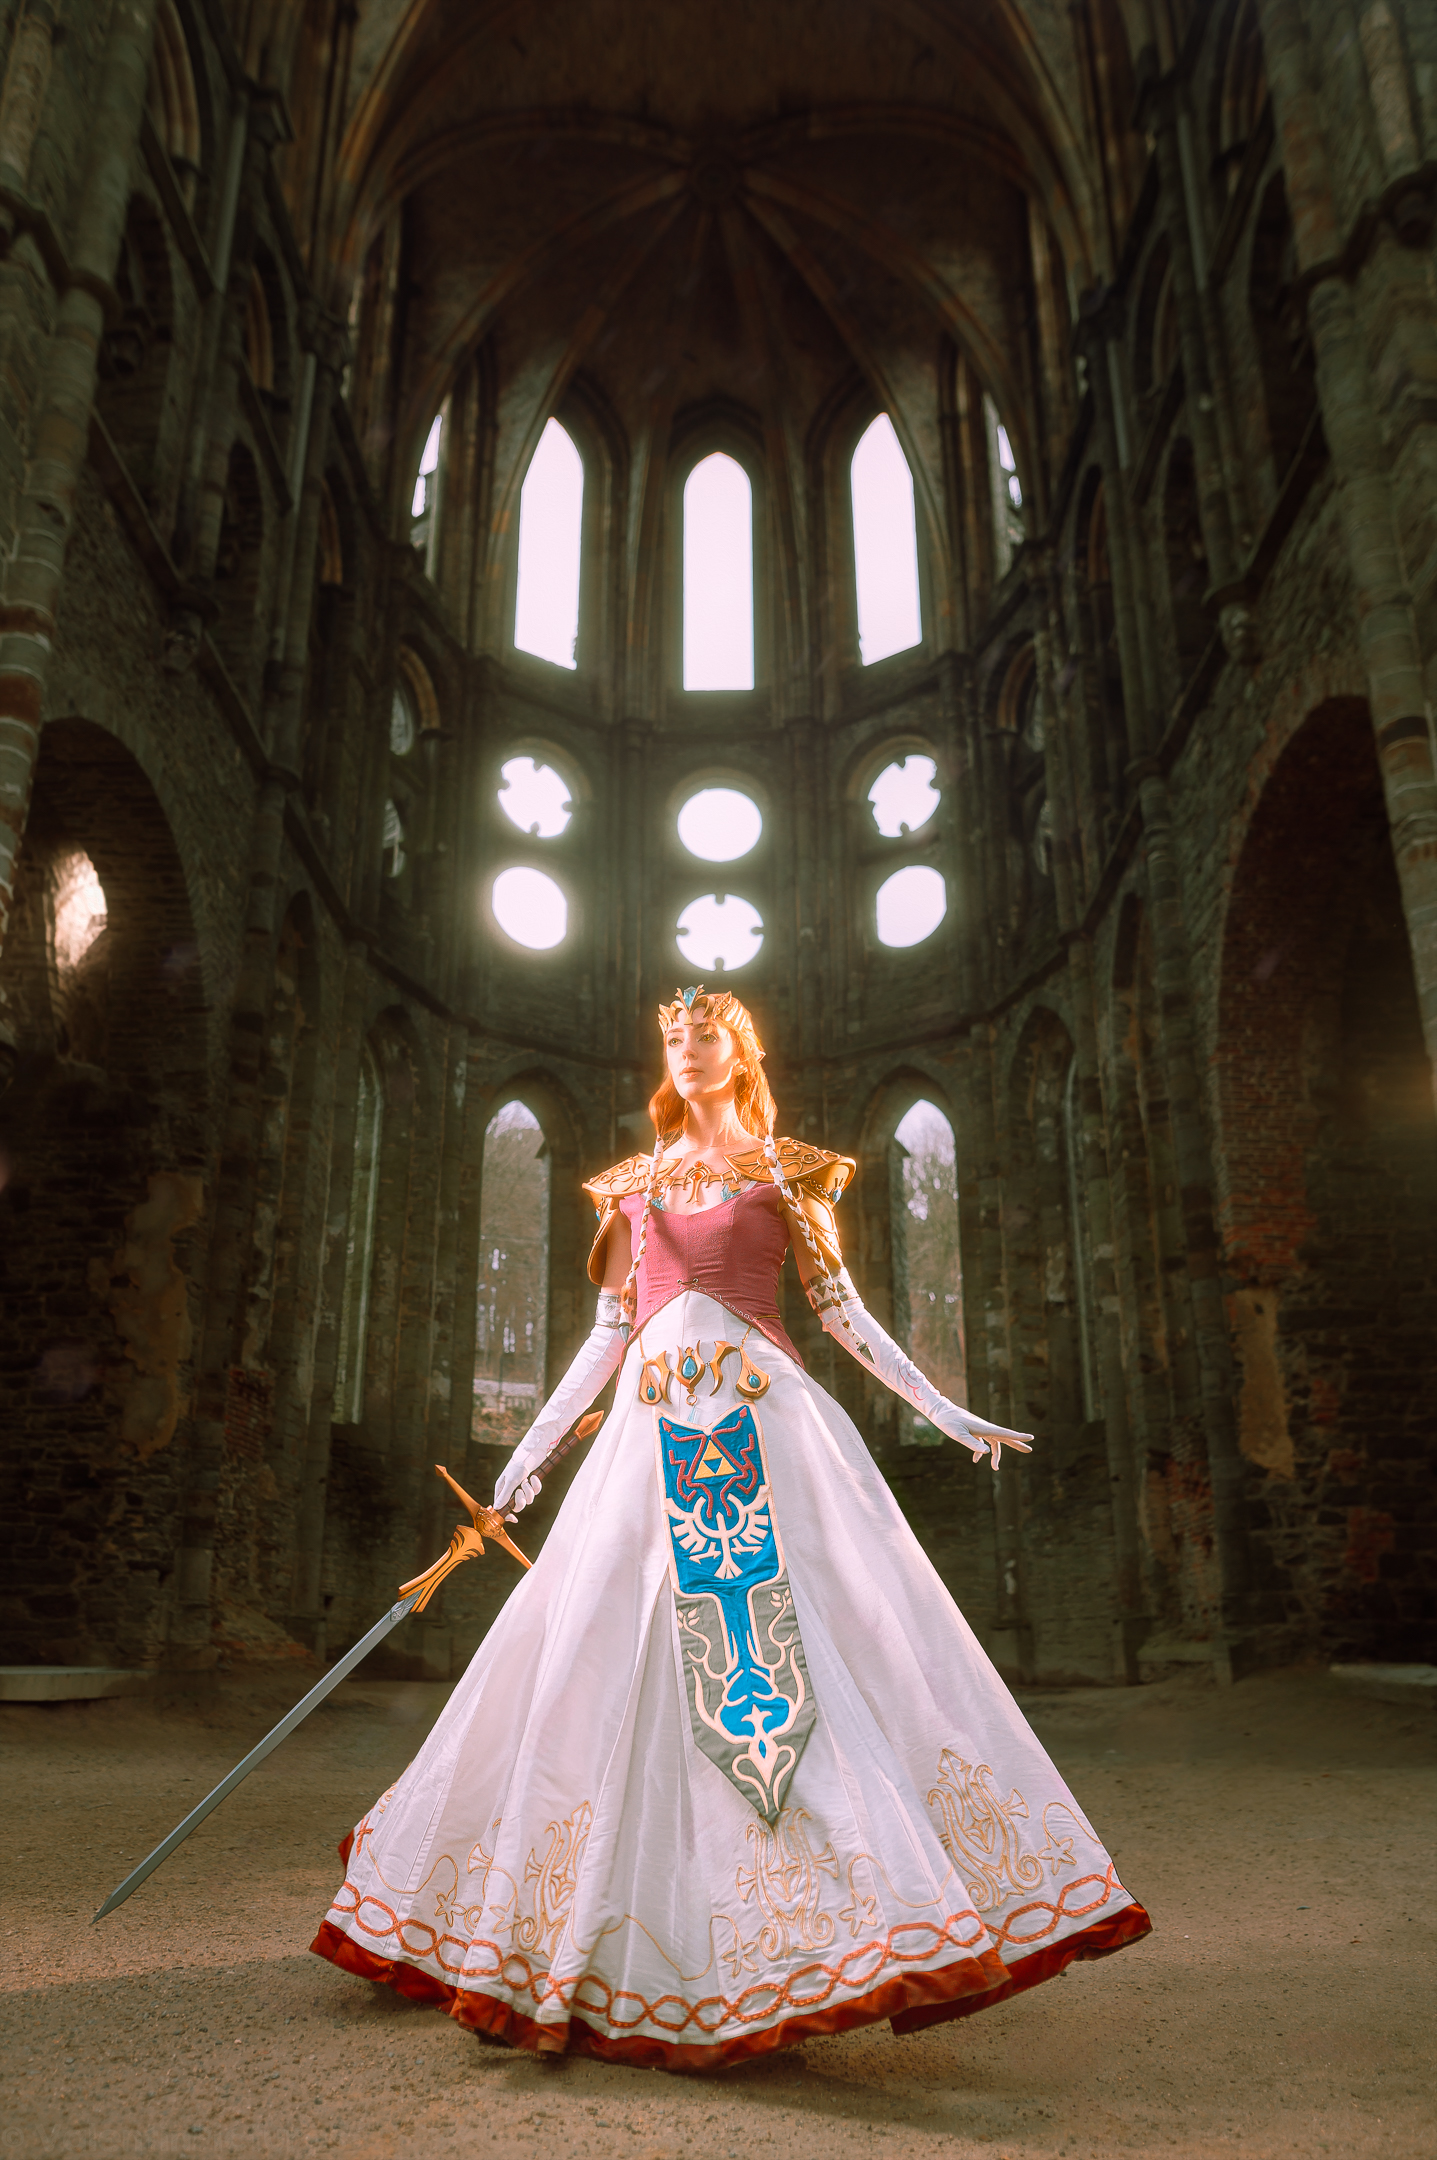
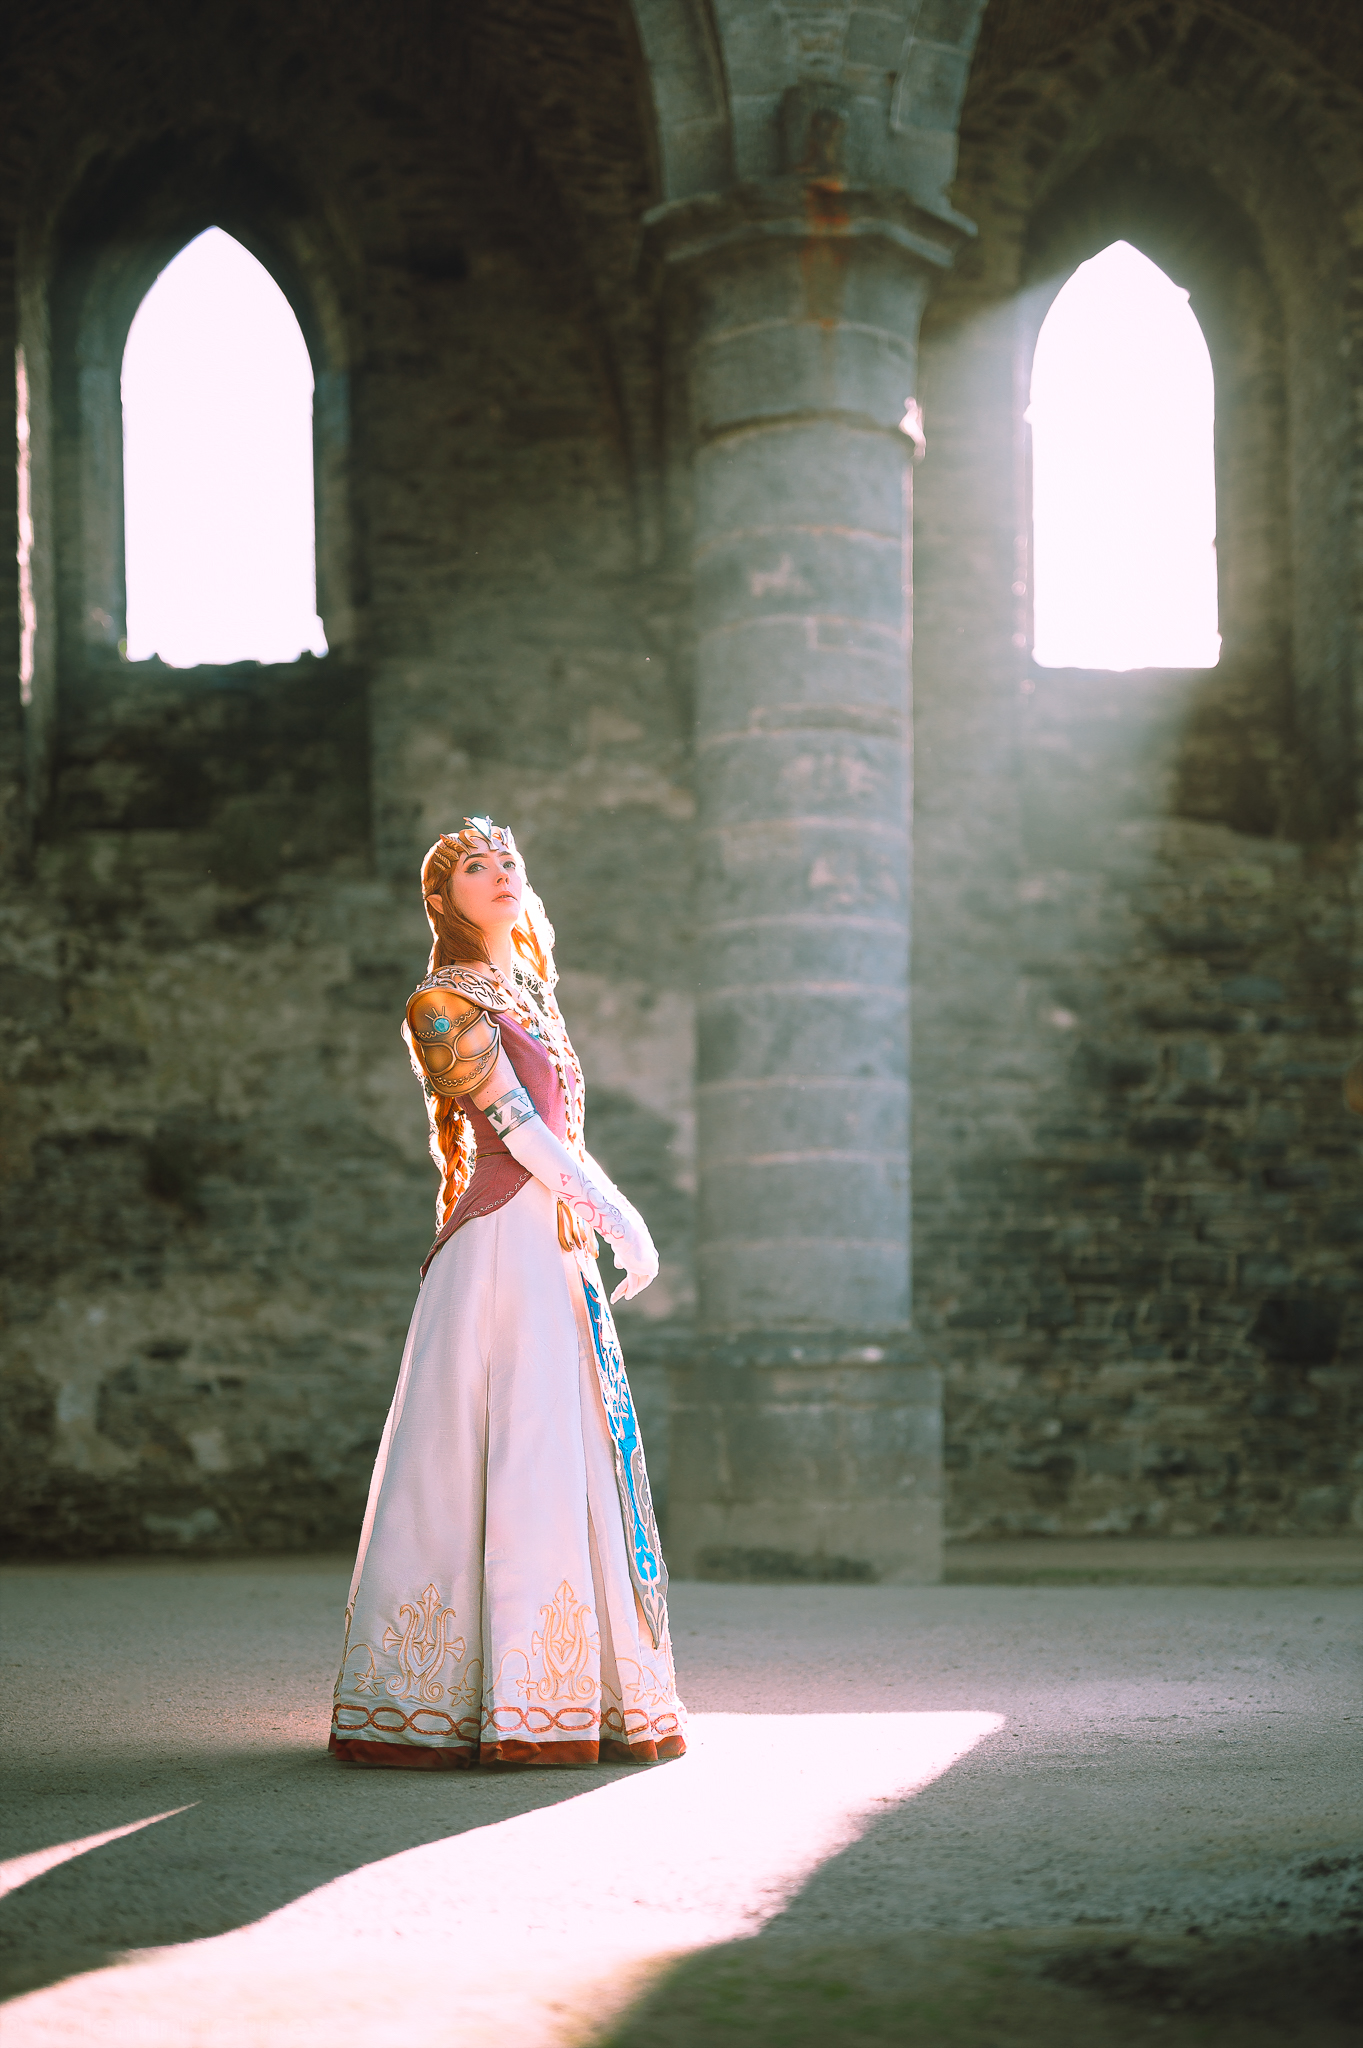
This page will gather all the materials, patterns and resources I used to create my Princess Zelda cosplay, from the video game The Legend of Zelda : Twilight Princess. I hope it will help you make your own Zelda cosplay, or simply give you some inspiration for your next costume project.
As this cosplay was made in 2020 and updated in 2023, I have lost some references or I can’t remember well how I did things.
I tried my best to find everything possible and work in progress pictures to help you.
References I used
sewing patterns
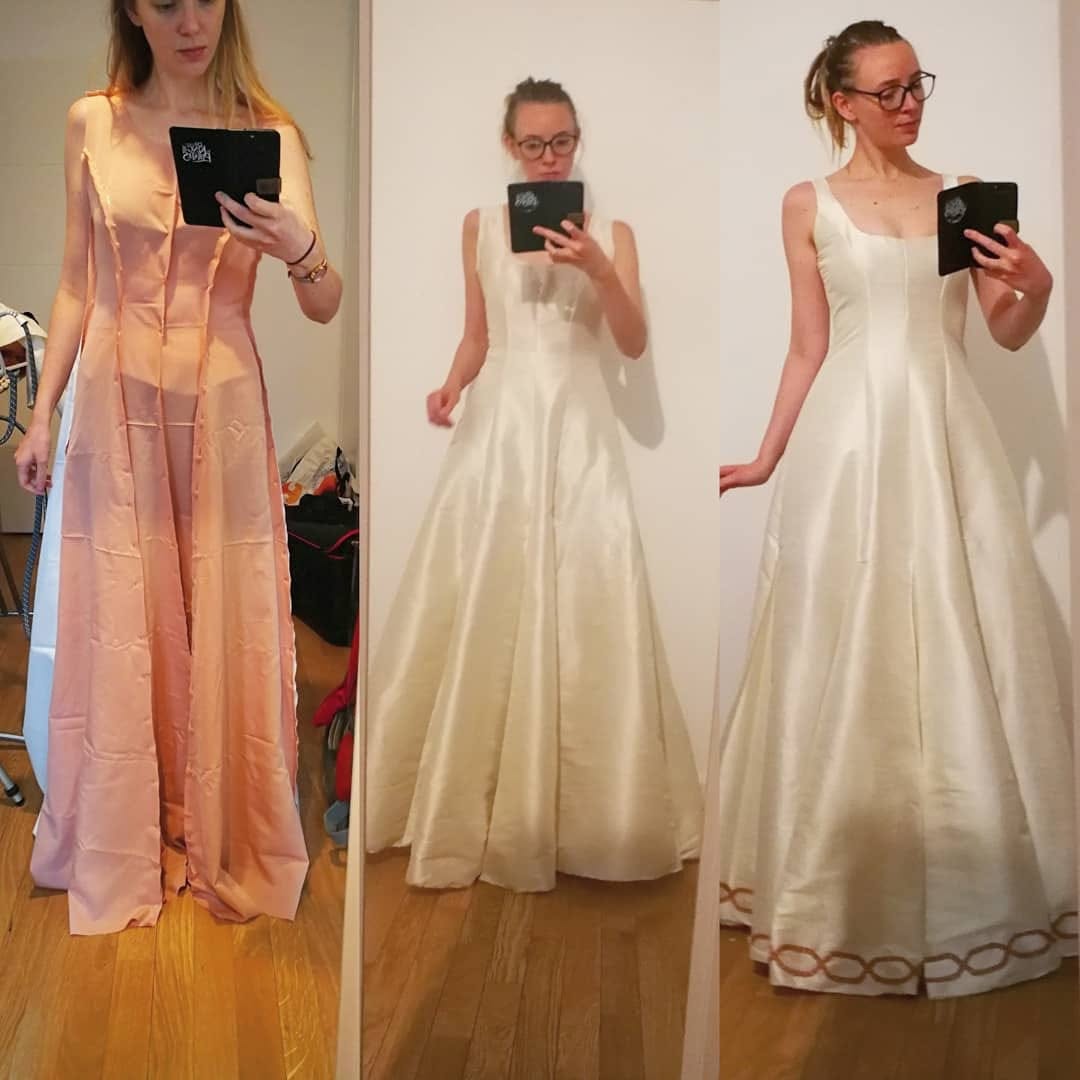
I drafted all of my patterns from scratch.
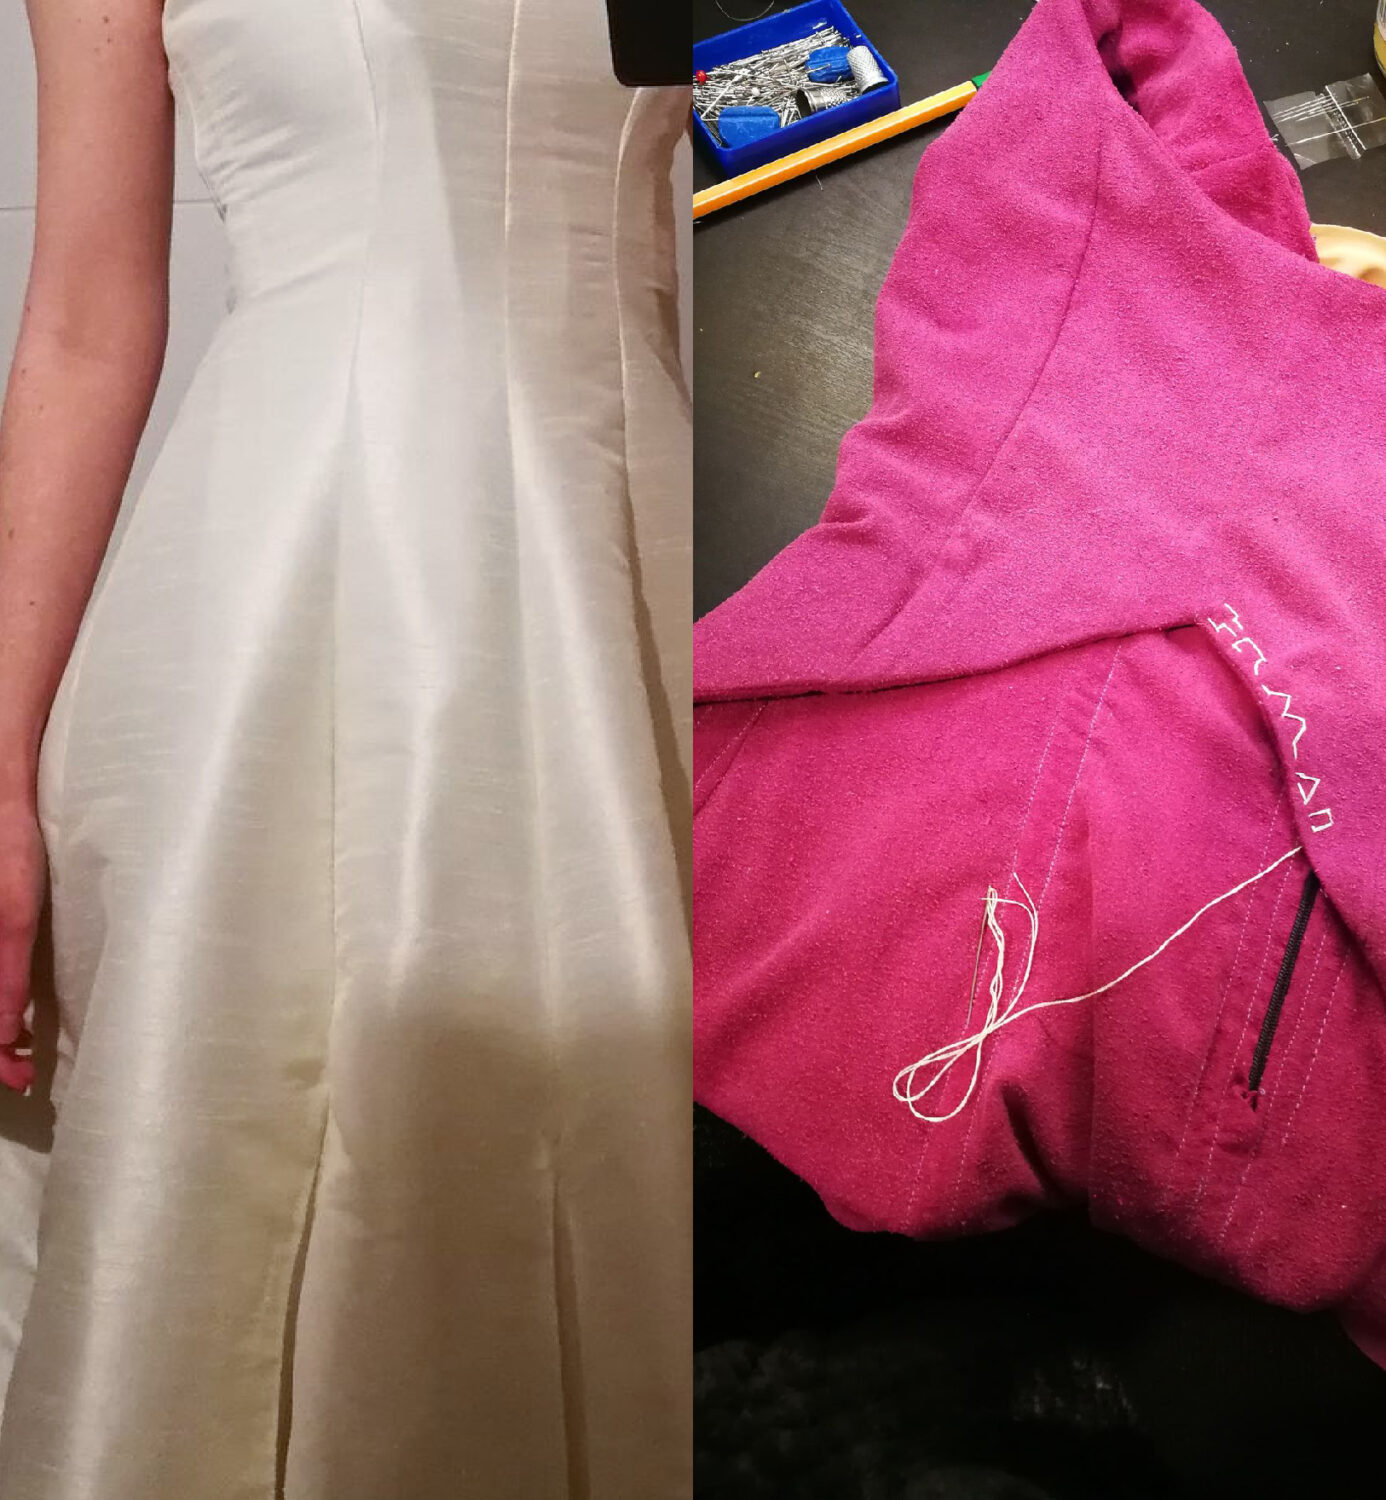
For the white dress, I used princess seams for the bodice. To add volume to the bottom of the skirt, I inserted triangular panels between each section, known as godets. I didn’t want a seam at the waist, so I drafted each skirt panel as one continuous piece from the top of the dress all the way to the hem.
Underneath the dress, I wore a petticoat without any boning, made entirely from fabric. It adds volume while keeping the skirt light and fluid.
The purple bodice was also drafted from scratch. I added boning throughout the entire bodice to give it structure and keep it sturdy.
The shoulder armors
I created the 3D models for Zelda’s shoulder armor and printed them using Sunlu PLA+ filament.
Back in 2020, I originally made the shoulder armor out of EVA foam, but I wasn’t happy with the result or how it looked. That’s why I redesigned it in 2023 and 3D modeled the armor pieces instead.
The shoulder armor is made of two separate pieces, but it is not designed to be articulated.
Link to the 3D models (shoulder)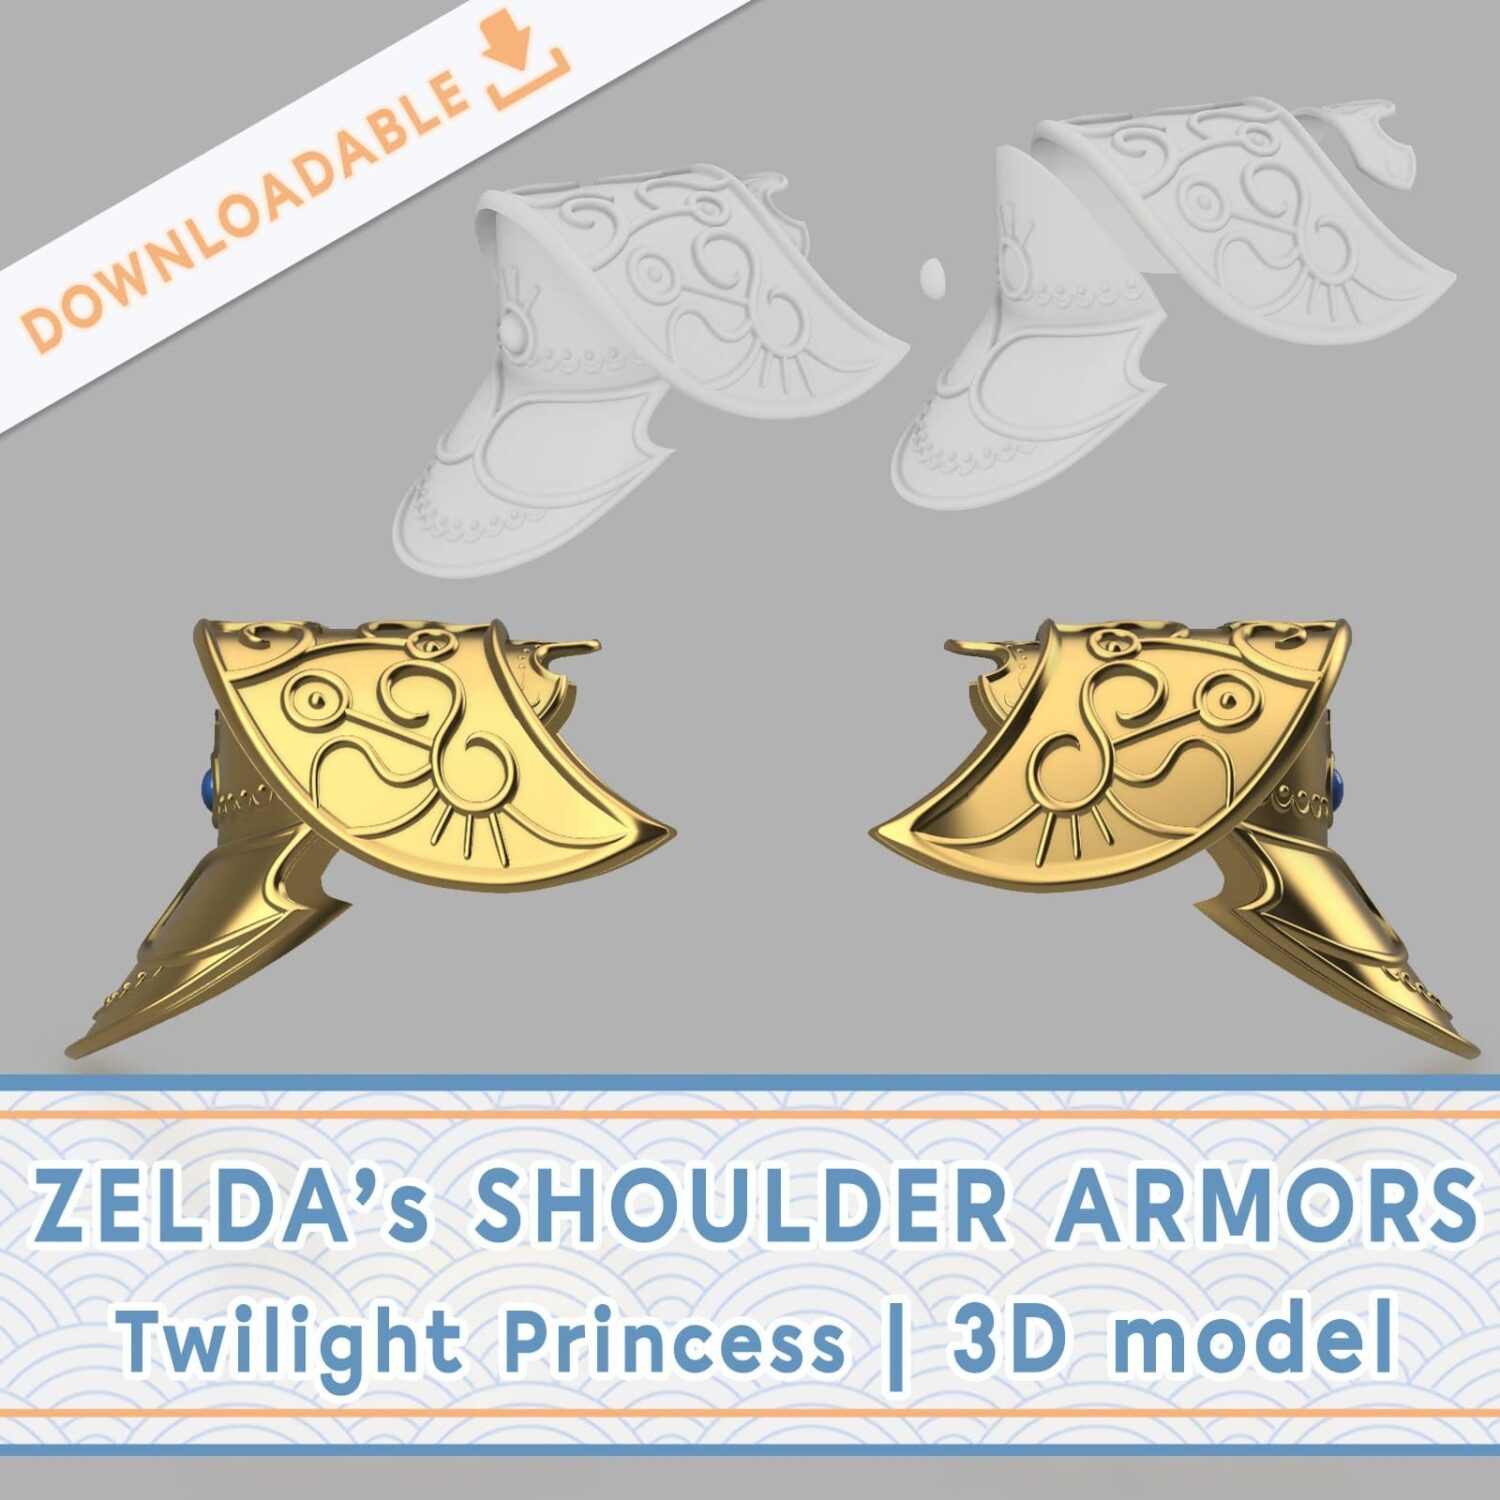
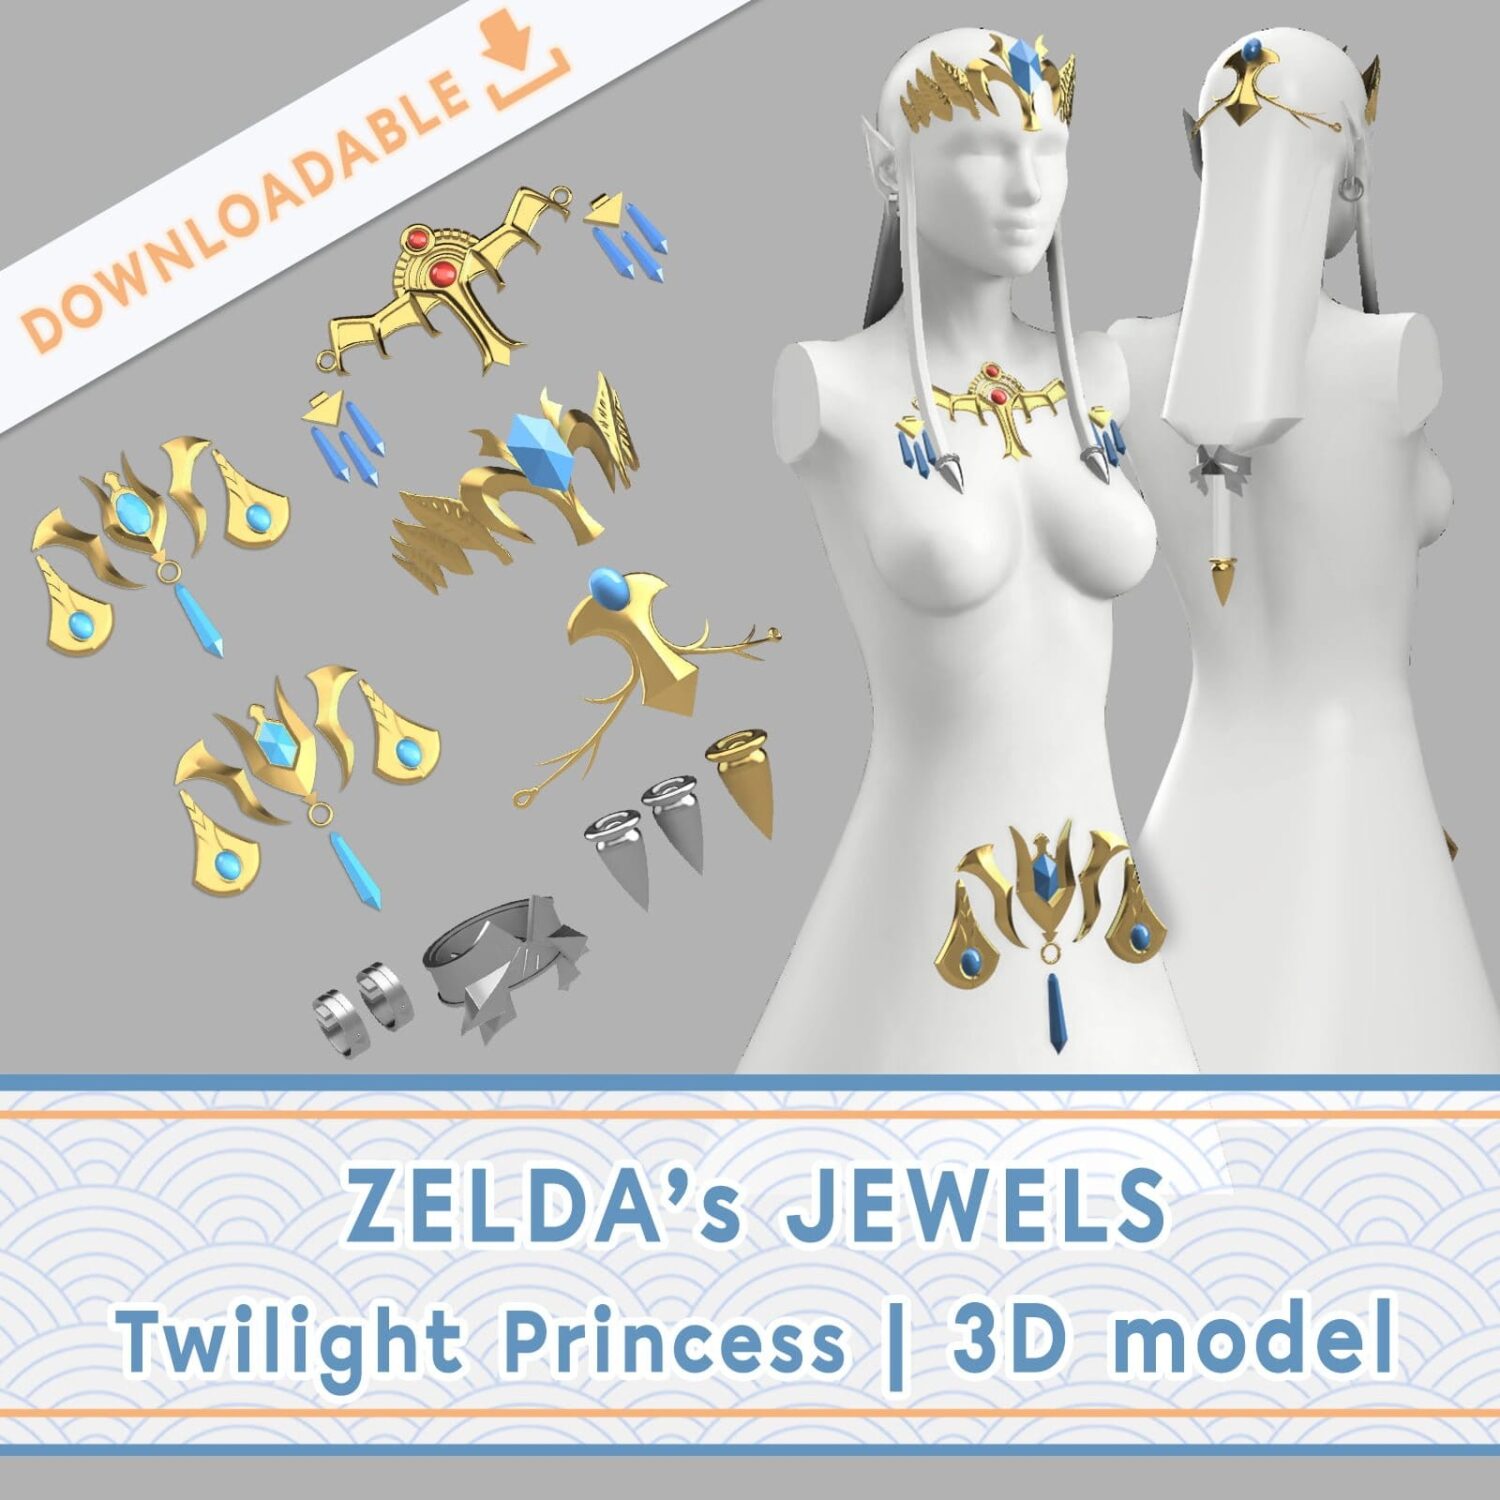
jewels, crown & belt
I created the 3D models for the jewelry (the necklace, earrings, and hair accessories) as well as the belt and crown. I printed all of the pieces using Sunlu ABS-like resin.
For the cosplay competition, I casted the gems myself using UV resin and mica powder to achieve a deep blue color.
However, I eventually removed them because I wasn’t happy with the result and decided to buy a pre-made set from Etsy instead. Unfortunately, I can no longer find the original listing, nor my order, so I don’t have the seller’s information anymore.
The 3D models available on my website also include files for the gems. You can either 3D print them using transparent resin, or use the models as molds to cast your own resin gems.
Link to the 3D models (Jewels)the sword
THE SWORD
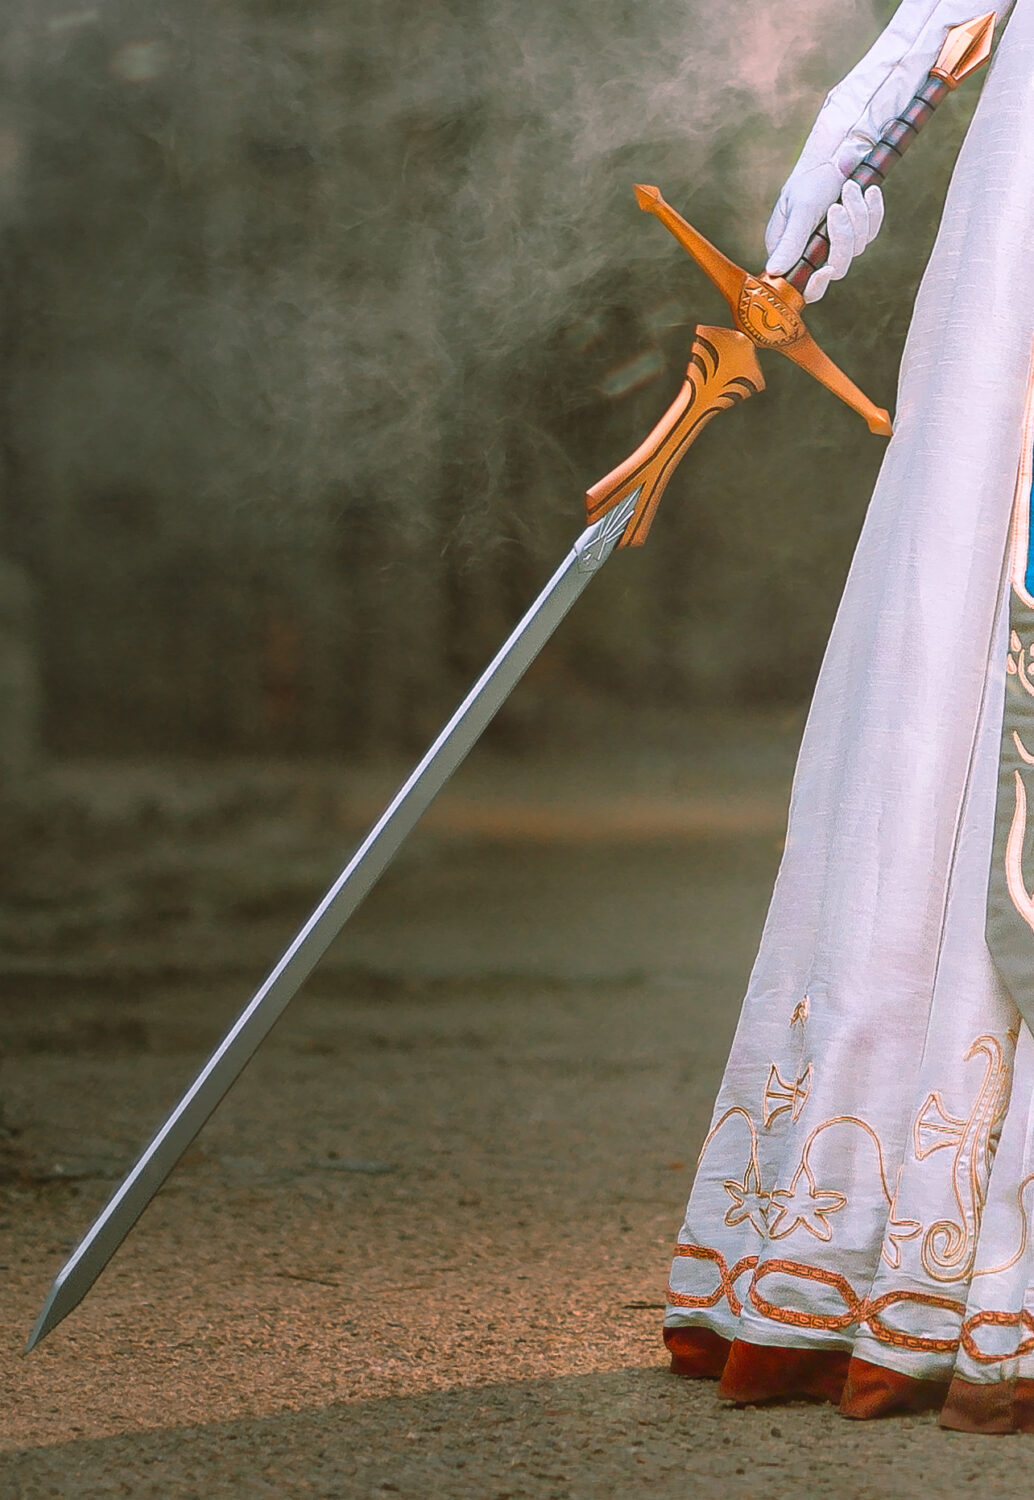
I 3D modeled Zelda’s sword. I printed the blade and handle in Sunlu PLA+, while the guard was printed in Sunlu ABS-like resin.
Since this is a rapier, the blade needs to be thin and slightly flexible. Keeping it thin is essential to achieve the elegant look of a real rapier, but it also creates some challenges when 3D printing it.
For my own sword, I printed the blade in one piece using a belt 3D printer. This was particularly useful because it eliminated the need to join several sections together.
Why does that matter?
When a thin blade is printed in several pieces, the joints between the sections can become visible again because of the blade’s flexibility. The blade is too thin to accommodate a core thicker than about 3–4 mm, which means the core itself will flex when you move around.
When the core bends, the joints between the different sections are put under stress. They can slightly crack or separate, causing the seams to become visible again. This is especially noticeable on a smooth, elegant blade, where even small imperfections can stand out.
Printing the blade in one single piece avoids all of these issues and gives a much cleaner result.
However, belt 3D printers are still relatively uncommon, and not everyone has access to one. That’s why the 3D files I created also include a version of the blade split into several parts, making it possible to print it on a standard 3D printer.
Link to the sword's 3D model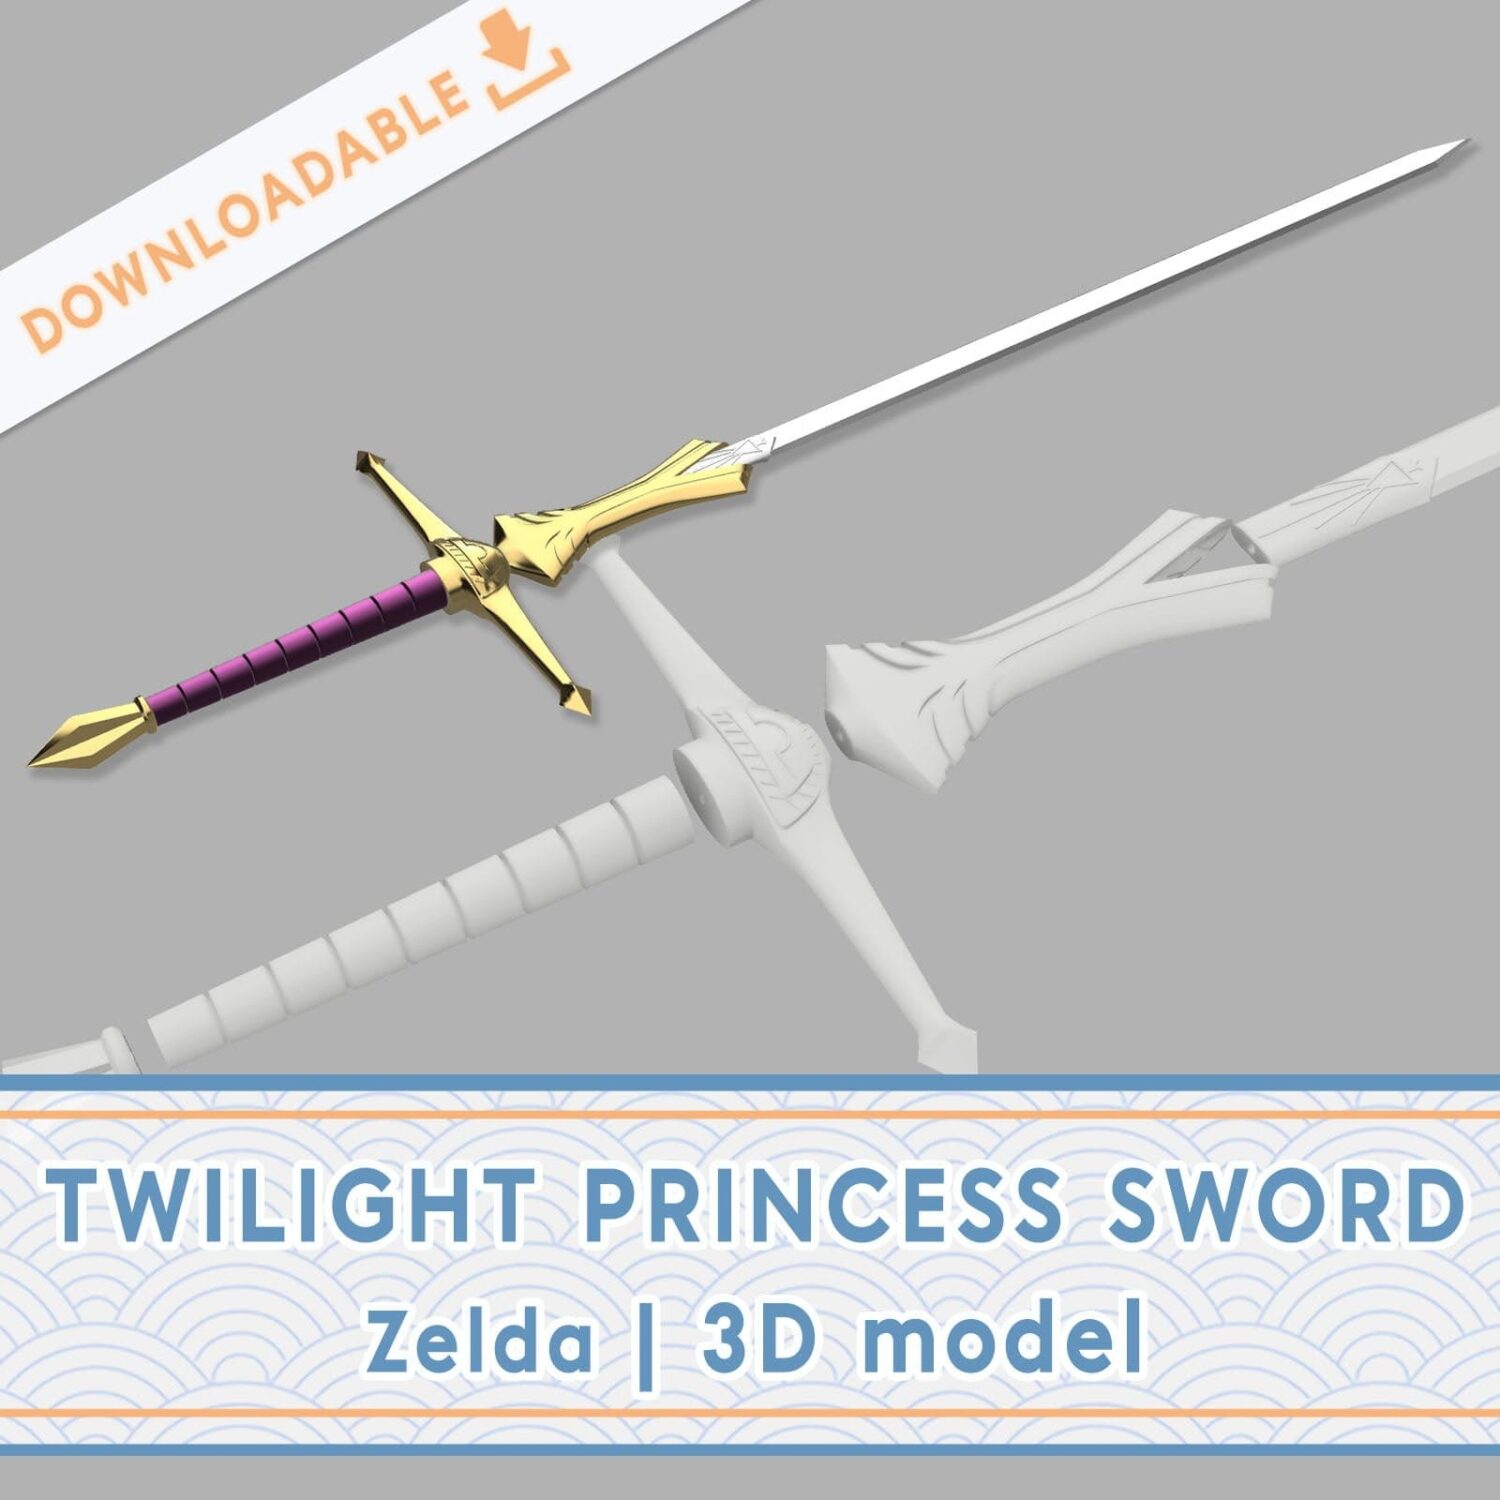
the fabrics
I used three different fabrics for this cosplay.
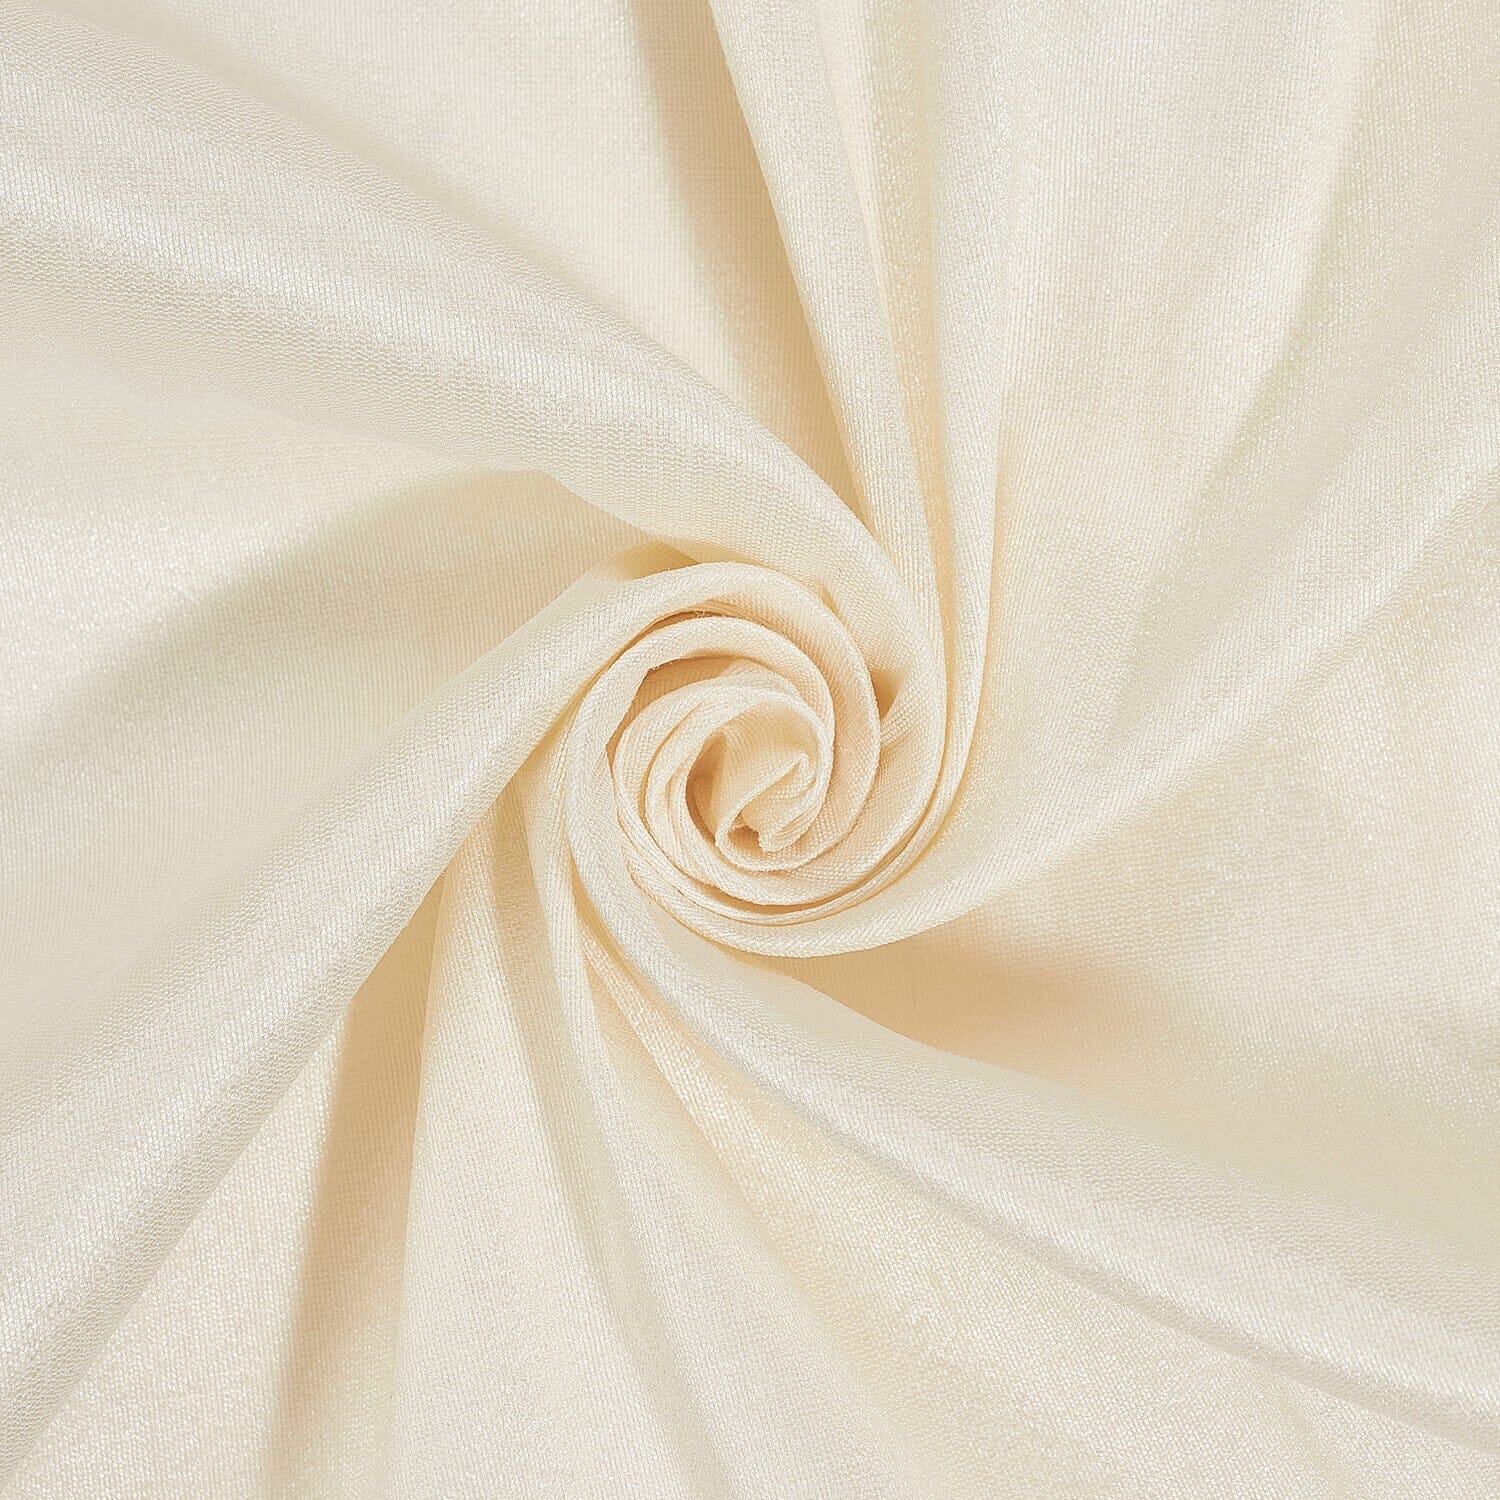
For the off-white fabric, I chose a faux dupioni fabric from Fabric Wholesale Direct, a fabric supplier based in the US. It has a slightly fluffy and stretchy texture that’s hard to describe, but it helps to not have too much wrinkles while transportation. It also makes the fabric a little stiffer than I expected. However, it has the perfect amount of sheen, and I absolutely love its texture.
I lined the dupioni fabric with white viscose to make the inside of the costume soft and comfortable against the skin. I bought the viscose from a French fabric shop, Les Coupons de Saint Pierre.
I used around 6 meters of the off-white fabric, if I remember correctly. I no longer have the order information on my account, so I can’t say for sure.
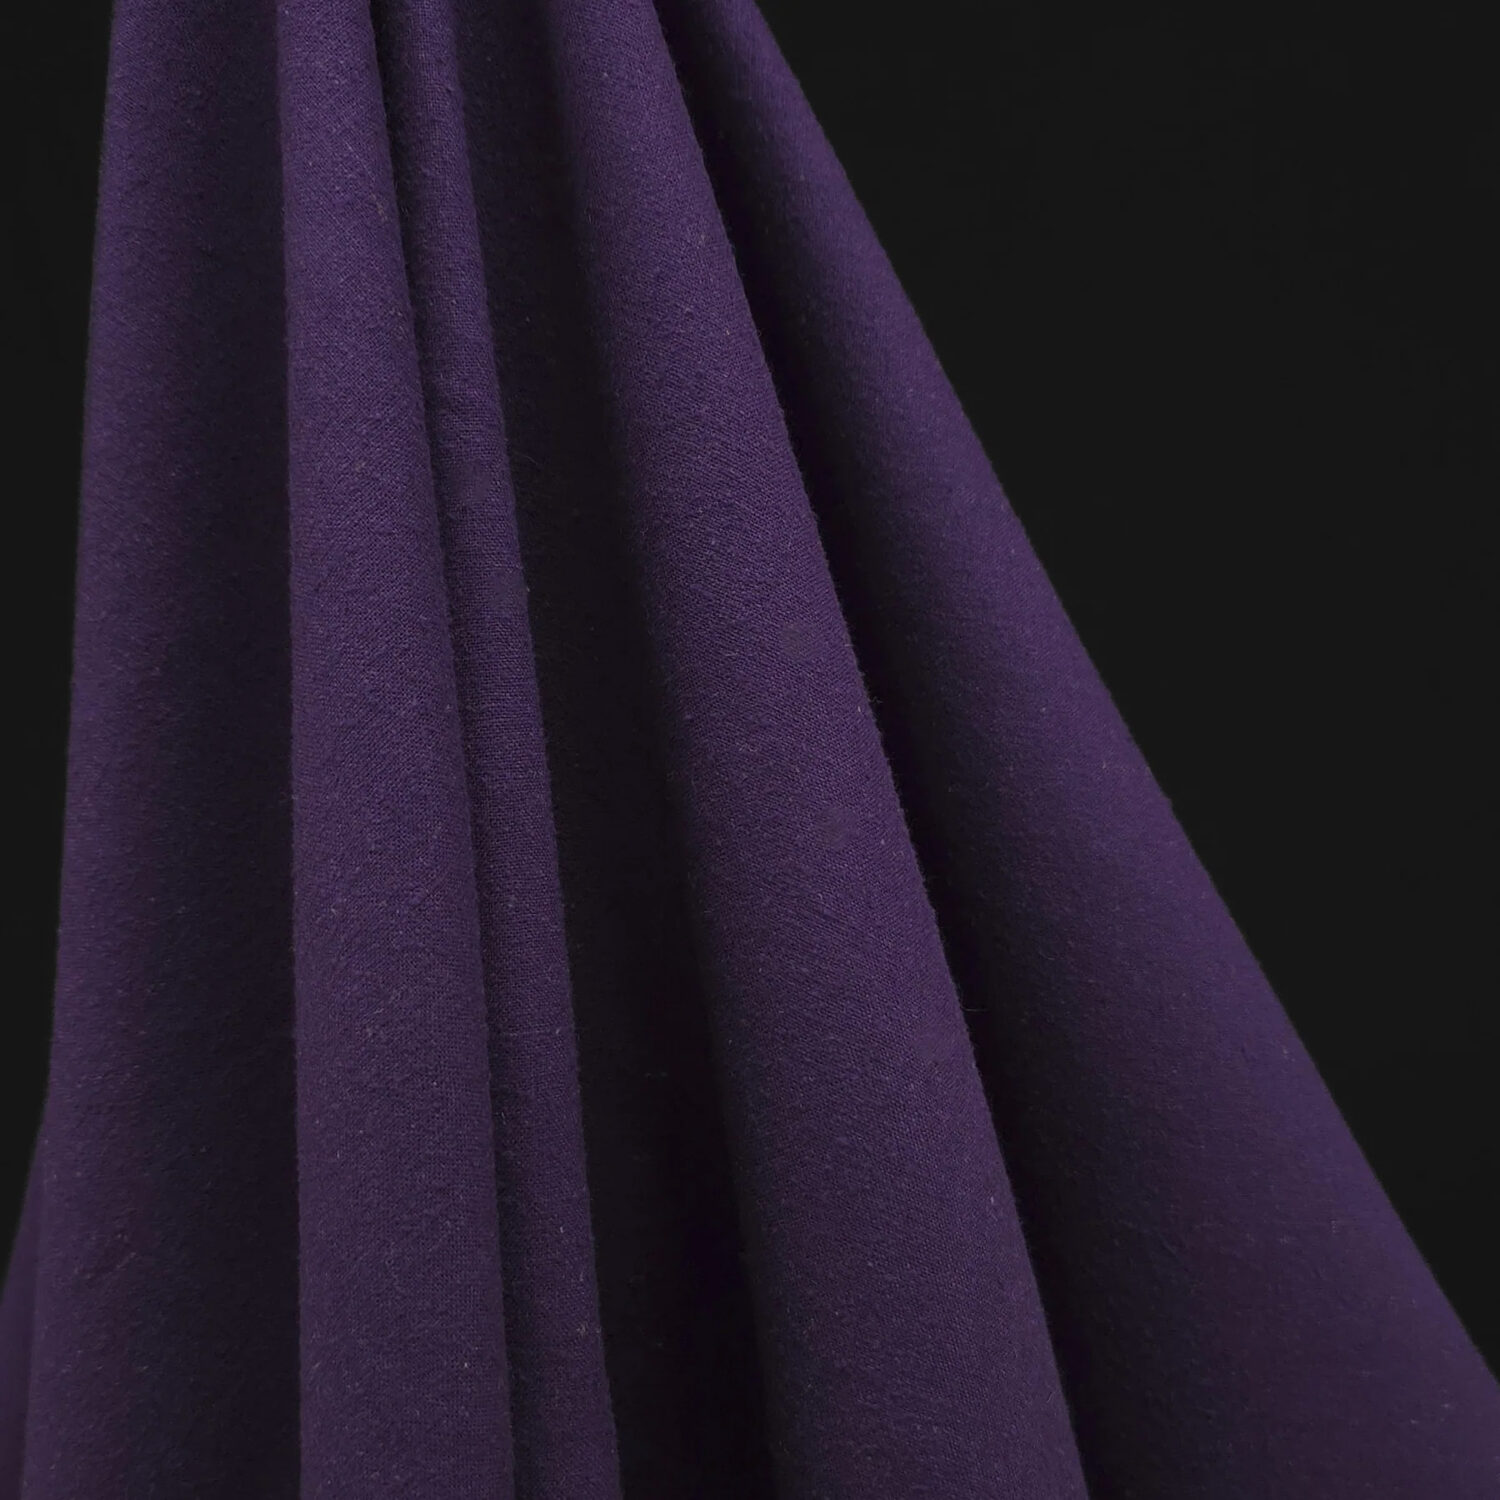
For the purple part, I used silk noil (also known as bourrette silk), which I found at a fabric shop in Paris. I used around 1.5 meters of it.
I wanted the purple fabric to have a slightly rustic, textured look while still keeping the feeling of royalty. That’s why I chose silk, but specifically a variety with a rougher, more matte texture. I also thought it would create a nice contrast with the sheen of the off-white fabric.
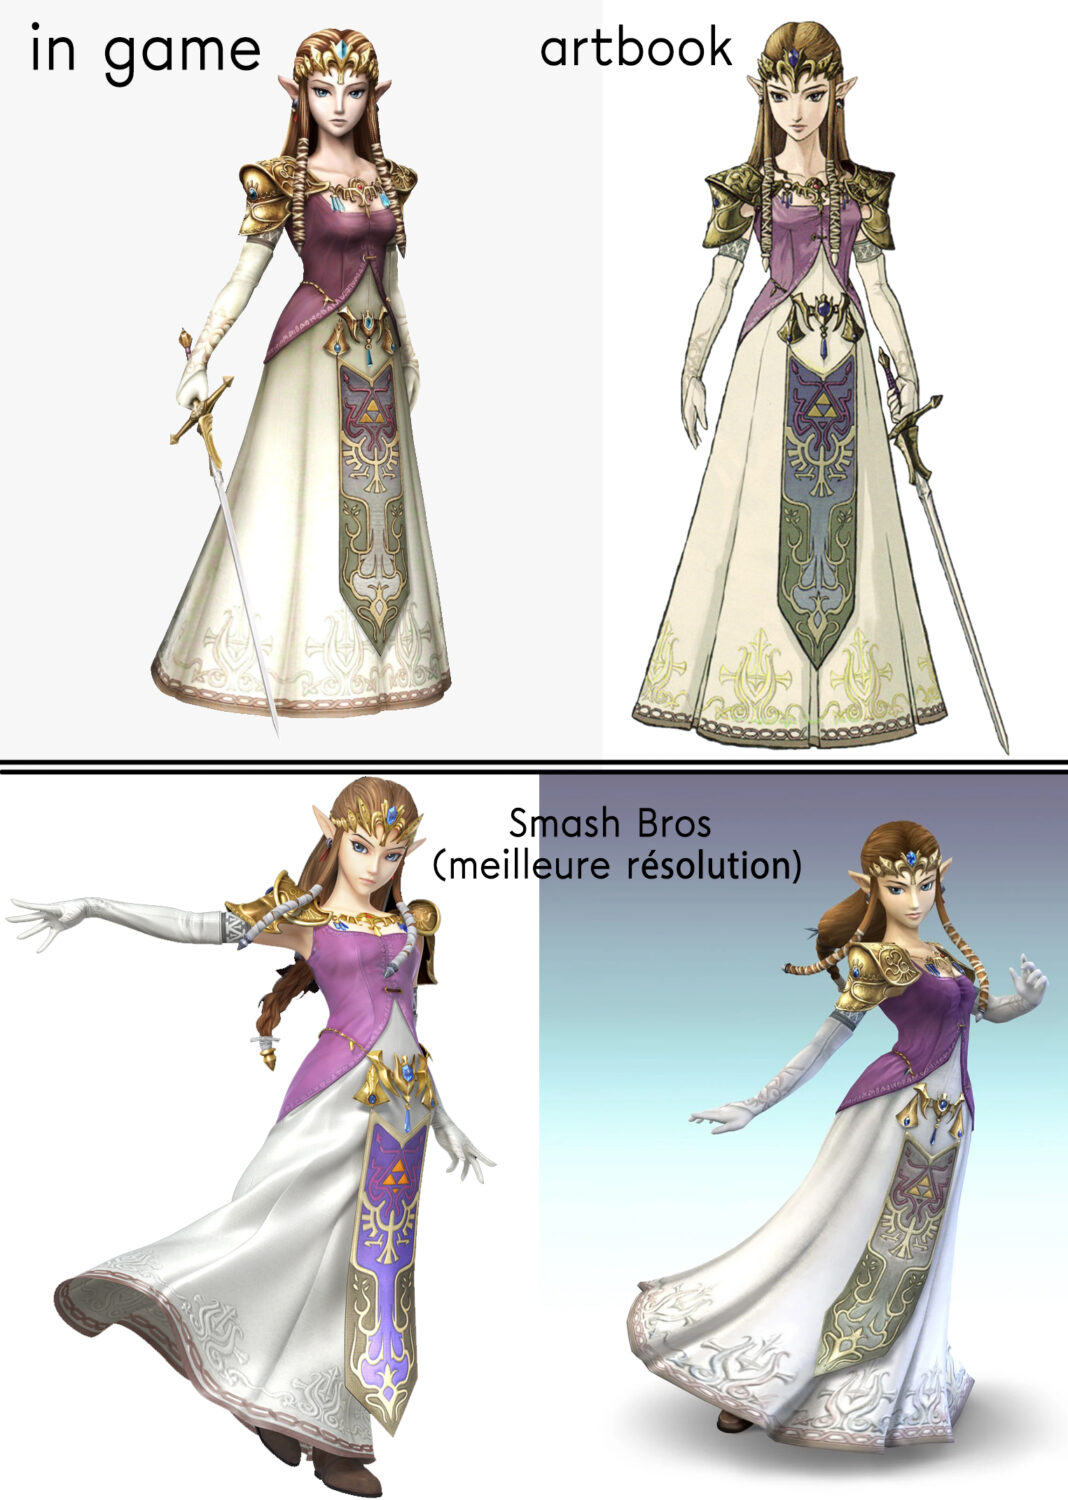
The exact shade of purple was particularly difficult to choose because it varies quite a lot depending on the reference you use : the artbook, the original game, the remake, Super Smash Bros., and so on.
Link to the white fabricembellissements
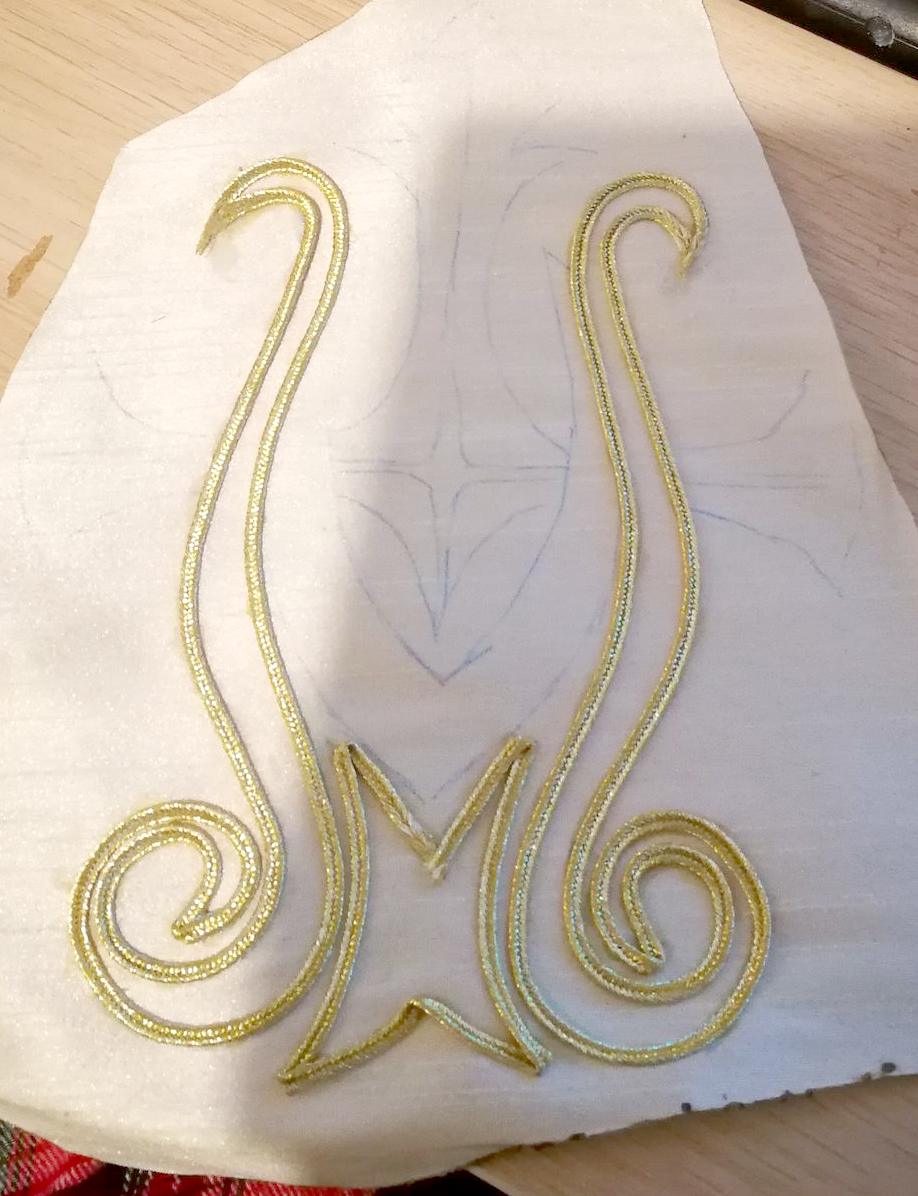
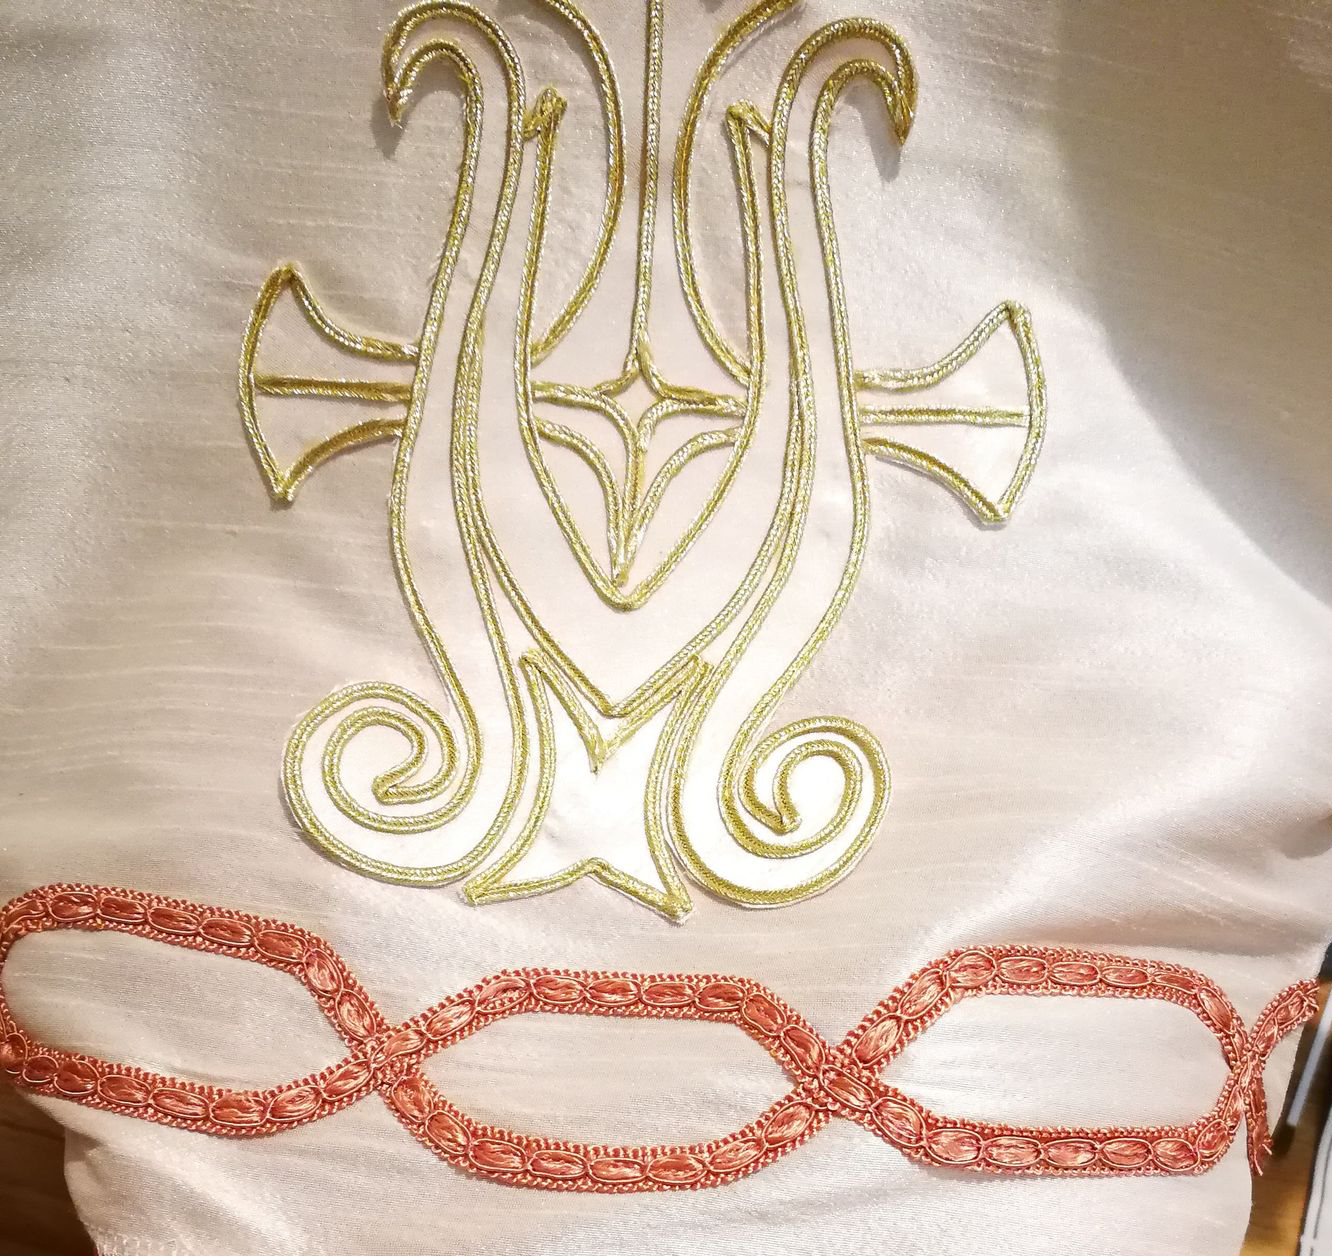
For the gold pattern at the bottom of the dress, I used gold soutache braid.
First, I cut pieces of the white fabric and drew the pattern onto them. I then fused interfacing to the fabric to make it stiffer and give it enough structure to support the heavy embellishment.
I carefully hand-sewed the soutache braid onto the fabric, following the pattern. Once the entire design was sewn, I trimmed the excess fabric around it to create the exact shape of the soutache pattern. I then hand-sewed the finished appliqué onto the dress.
For the pink interlaced pattern, I bought a pretty pink ribbon. I carefully pinned it in place and then interlaced it around the entire hem, following the reference design.
For the pink stripe at the hem, I used duchess satin folded in half. I hand-sewed it to the inside of the dress, attaching it to the lining so that the raw edges were completely hidden and the finish remained clean and invisible.
Almost all of the embellishments I used were purchased from shops in Paris, but you may be able to find similar materials on AliExpress.
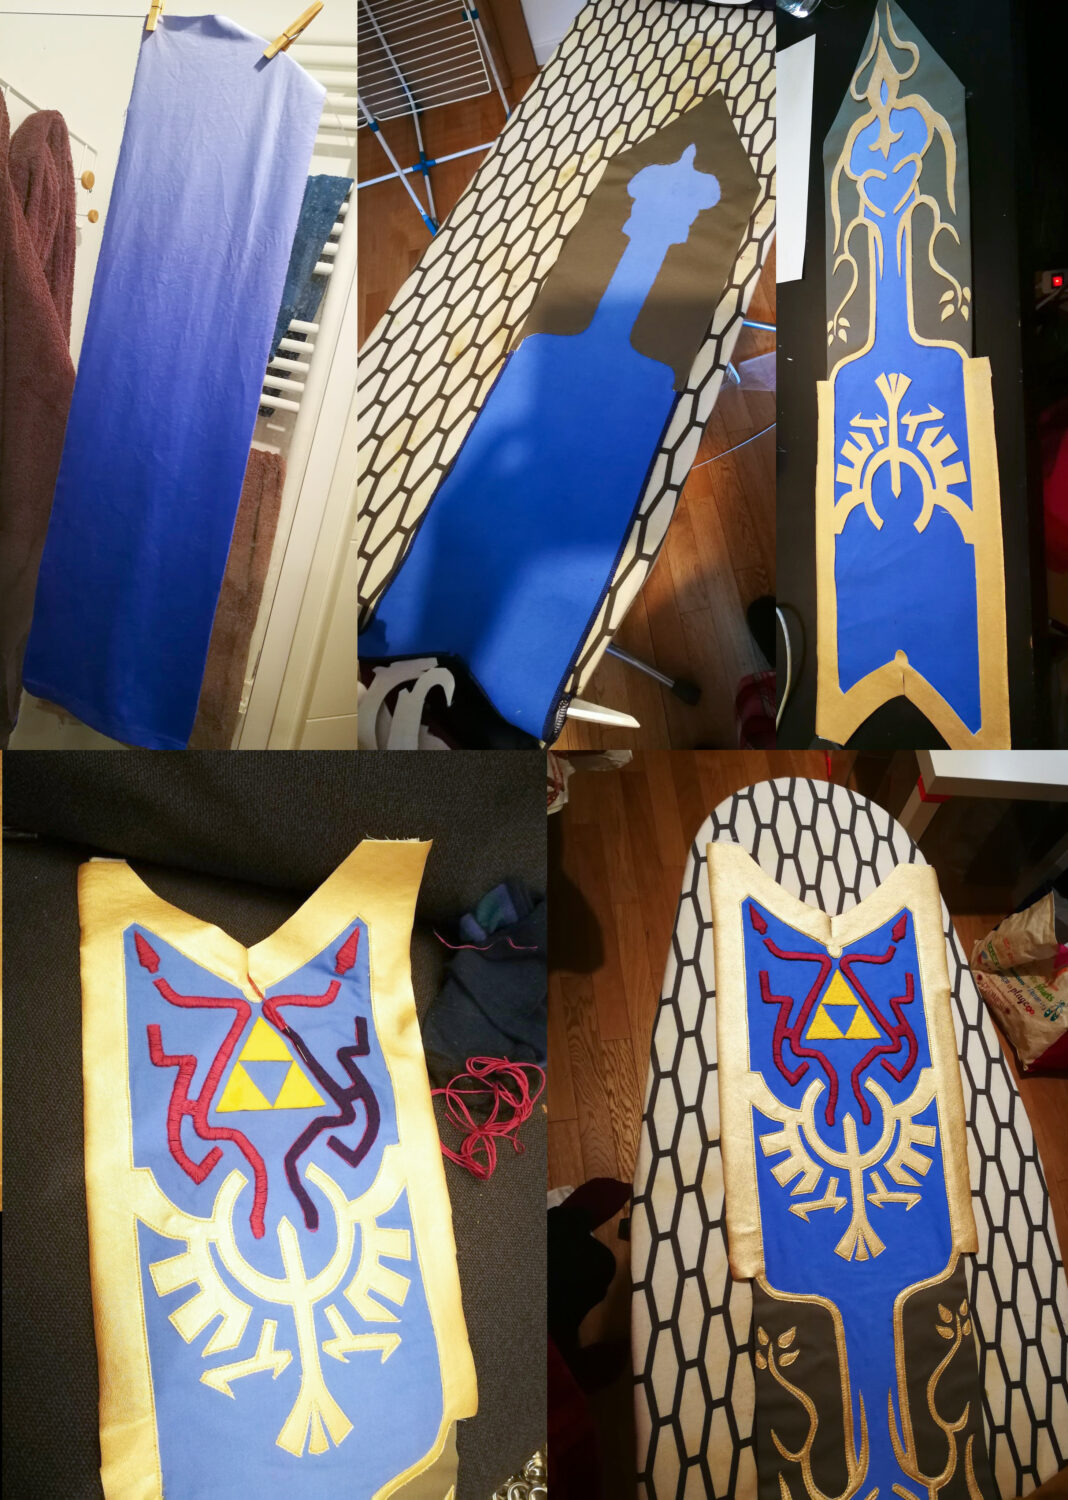
The tabard
I gradient-dyed a white cotton fabric, then sewed a green/khaki cotton fabric over it. I hand-cut the gold pleather pieces and sewed them on using a straight stitch.
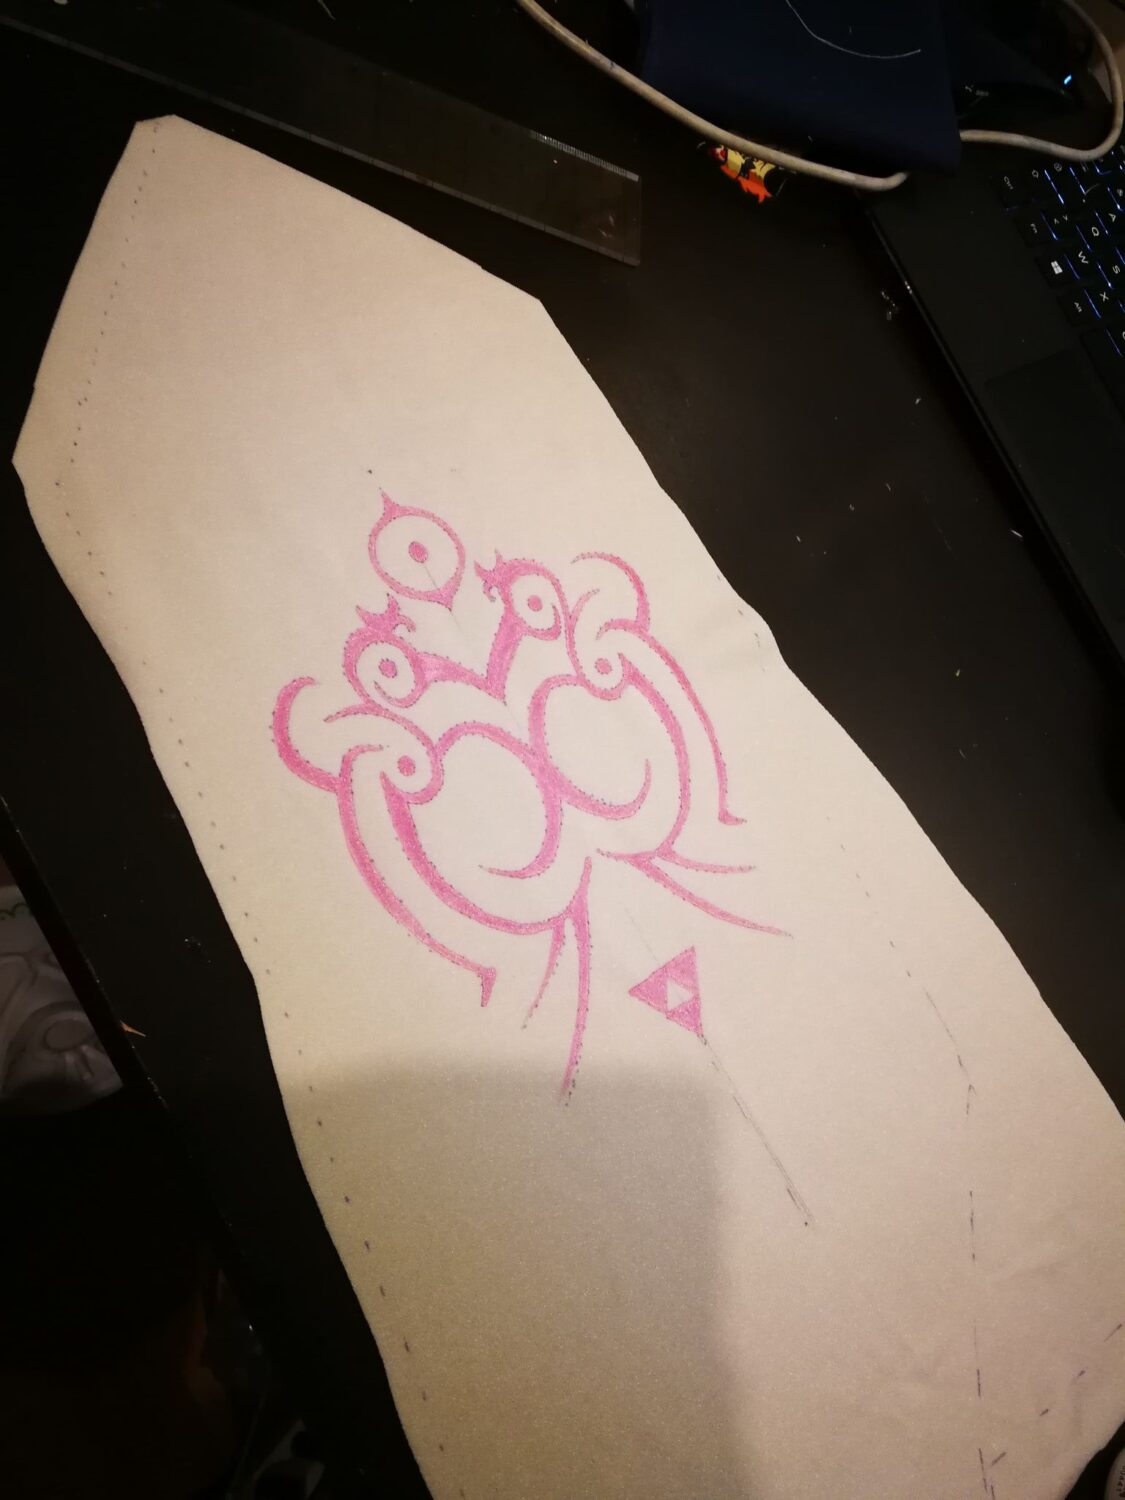
I hand-embroidered the purple details, using felt underneath to give the embroidery enough thickness. I used the same technique for the Triforce.
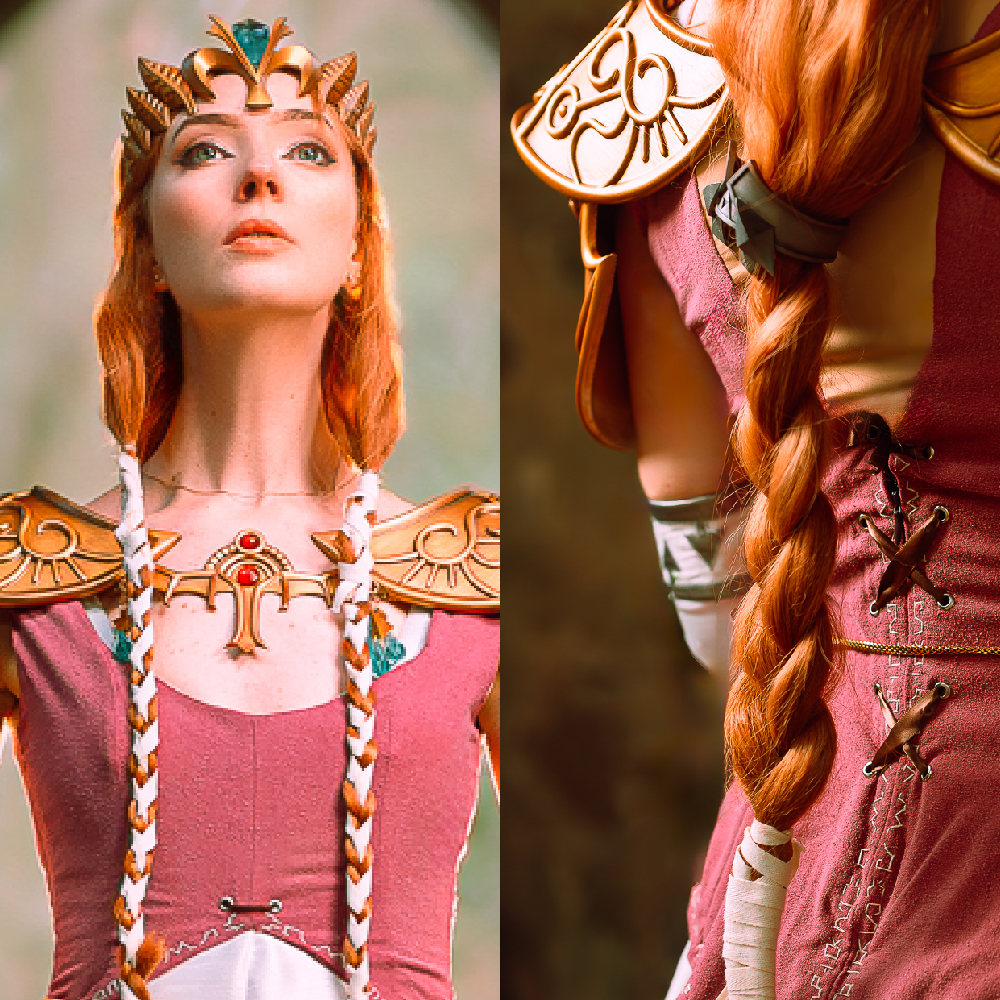
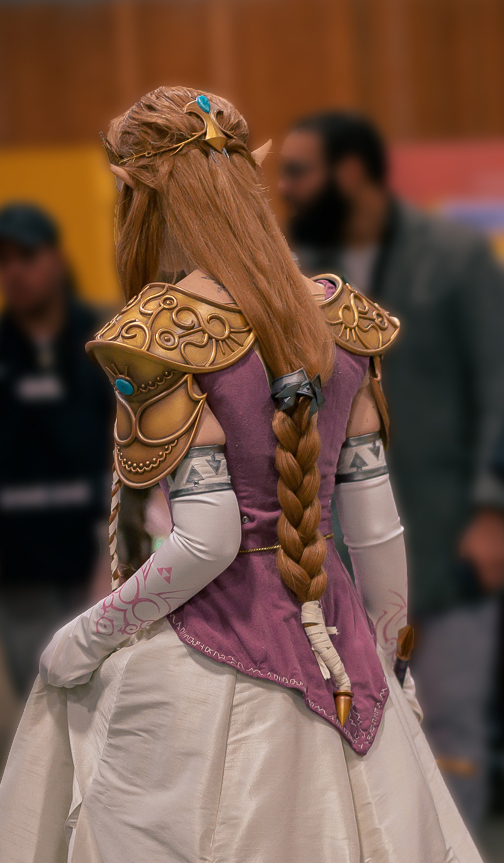
The wig
The wig was one of the trickiest parts of this cosplay, mainly because wigs aren’t really my specialty ; and, to be honest, I don’t particularly enjoy working with them.
In 2020, I ordered a wig from Arda Wigs in Canada, but unfortunately, it didn’t arrive in time because of customs delays.
Since I was running out of time, I had to order a wig at the last minute. I can’t remember if I took it on Aliexpress or on Coscraft; as it’s been 6 years I can’t find my order anymore sadly.
I chose a Raphtalia wig because it had both the right hair color and a similar length to Zelda’s hair.
In the end, when the Arda wig finally arrived, I wasn’t happy with either the texture or the color, so I decided to keep using the Raphtalia wig and never switched to the original one.
To be honest, this is one of the parts of the cosplay I’m least happy with. If I were to remake it today, I would definitely go for a lace-front wig to achieve a more natural-looking hairline, and I would spend more time styling and shaping the wig to better match the character.
painting the props and armor (3D prints)
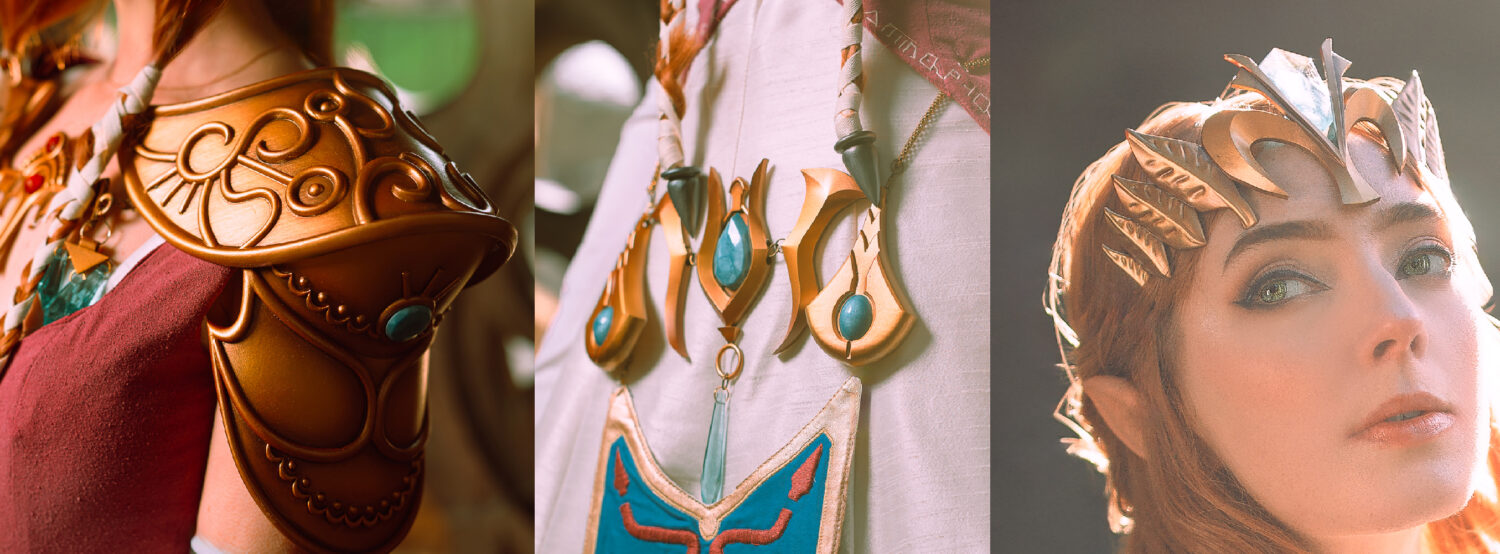
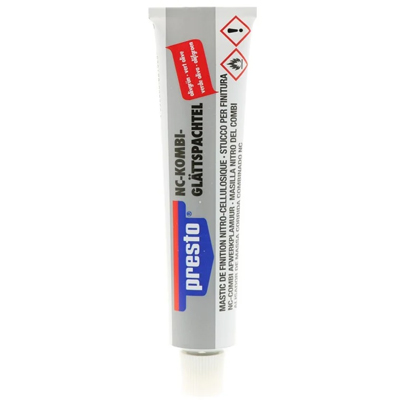
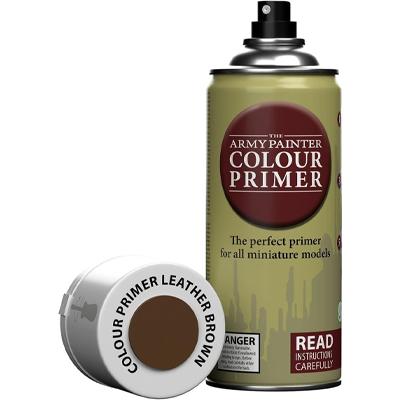
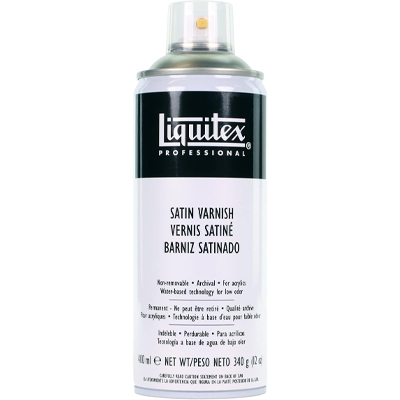
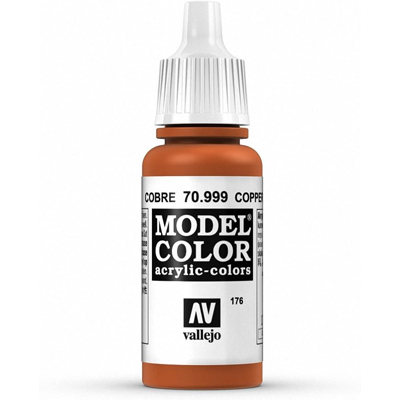
I’ve listed most of the products I used below.
I also have tutorial videos on my social media showing my process for painting 3D prints, but I’ll do my best to summarize the main steps here.
Preparing the 3D prints
First and foremost, you need to sand your prints. I usually start with 80-grit sandpaper to remove most of the visible layer lines. I then gradually move to finer and finer grits, going all the way up to 1000 grit.
I wash the pieces with water between each grit to remove any sanding residue or dust that could cause scratches when moving on to the next step.
I also use filler to repair imperfections or fill in gaps when needed.
Once I’m happy with the surface, I prime everything. It’s important to make sure that your primer is compatible with the type of paint you’re going to use. If you’re unsure, using a primer from the same brand as your paints is usually a safe choice.
Painting the 3D prints
When it comes to painting, I like to work from dark to light. I also start with a base coat that establishes the undertone I want for the final color.
For gold tones, I usually start with a red or brown base to create a warm undertone. For silver, I use cooler colors such as blue as the base.
I mostly paint with an Iwata airbrush. I also use spray paint for the first base coat when appropriate.
For Zelda, I didn’t add any weathering. Instead, I focused on shading the colors to give the pieces more depth and definition.
Once everything is painted, I apply a clear coat with the finish I want.
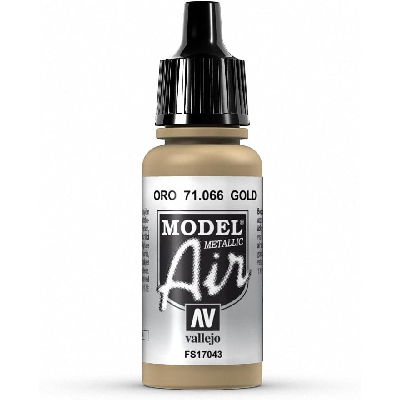
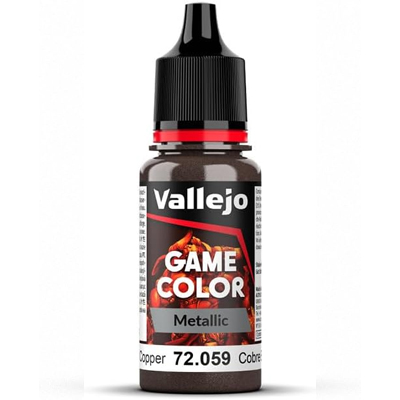
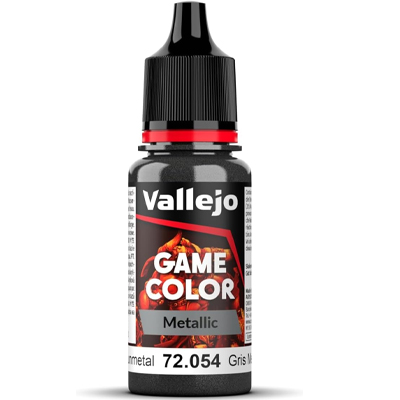
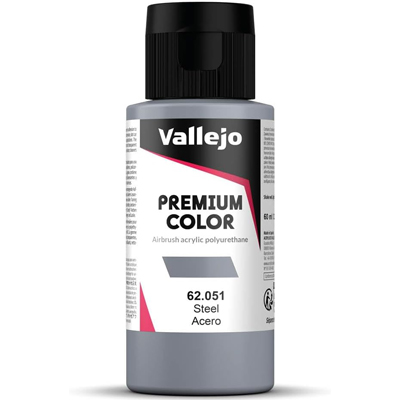
the gloves
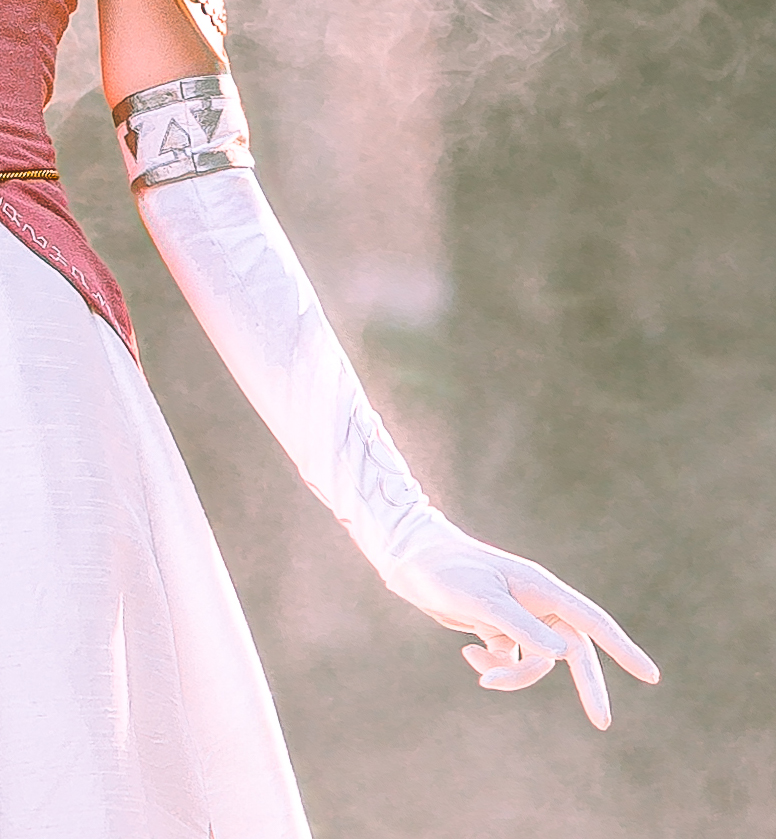
For the gloves, I used two layers.
First, I made an underglove using white Lycra, a very stretchy fabric that fits closely to the hand and arm.
On top of the underglove, I made a separate sleeve that ends in a V shape and attaches to the middle finger. This creates the distinctive shape of the gloves while keeping the underlayer fitted and comfortable.
For the pattern on the gloves, I used 3D stretch fabric paint, which allowed me to add the raised decorative details while keeping the fabric flexible.
For the upper edge of the glove, I created the decorative pattern from silver faux leather and applied it as an appliqué.